

Our powder room's first makeover included a gold ceiling and burgundy red walls. Ha, lots of drama as you can see right HERE.
After ten years of loving such a bold color combo, I was more than ready for change.
Change did come in the form of paint. More precisely, white paint.
*This post contains affiliate links for your convenience. Click here to read my full disclosure policy.
The ceiling and walls were painted white and that was about the entire makeover that I gave this room before another set of ten years slid by.
YEP. Time flies.
For the past five years, I've been on the verge of giving this little room another makeover. Somehow other projects came up and I veered off schedule and then, another year passed.
Well, it looks like finally, the time has come to update this powder room of us!
Let's take a look at what we are dealing with.
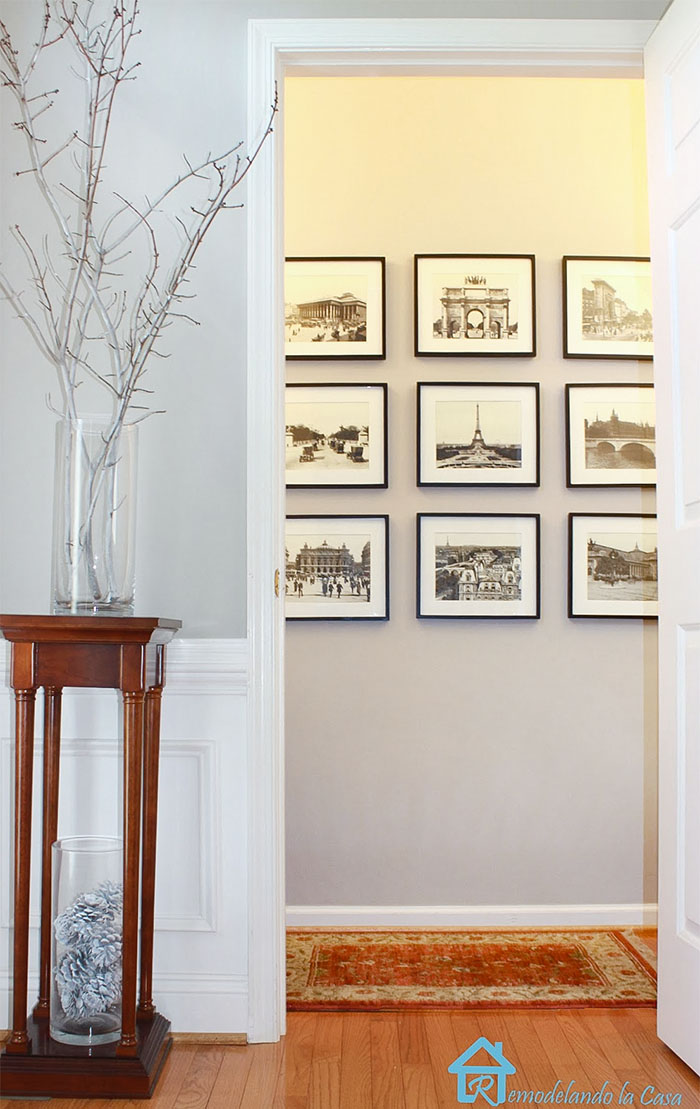
A GALLERY WALL
When we open the door, all that is to see is a big wall. The Paris gallery that I installed long ago was a good focal point.
I loved the pictures and the frames. Well, I still love them, but I don't want them here anymore. :D
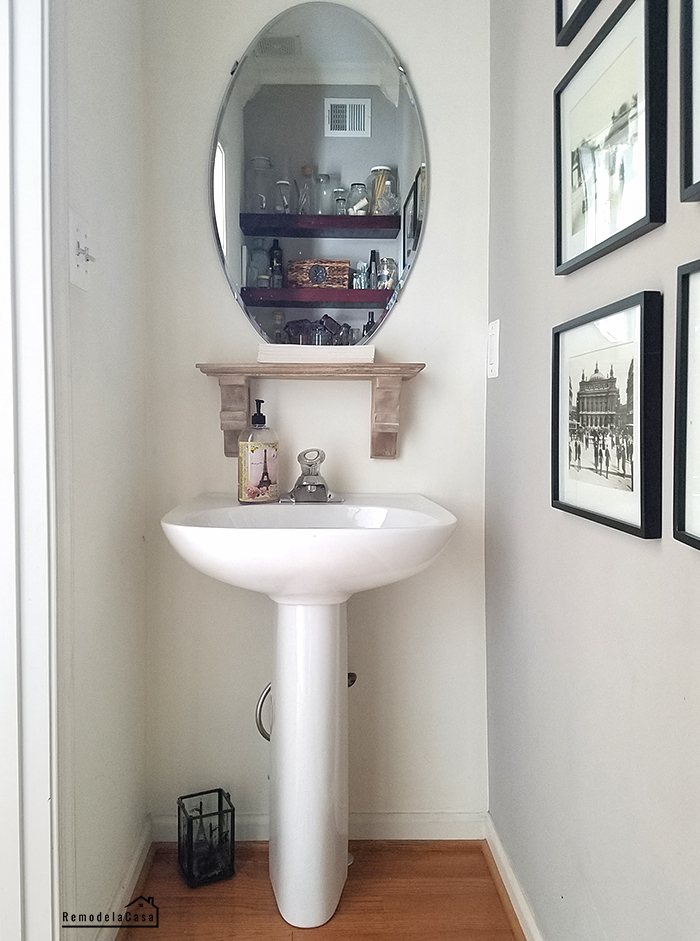
THE VANITY
On the left, inside the room, there is a pedestal sink, an oval frameless mirror, a shelf, and a dated light fixture. They're all screaming: BORING!
I installed the shelf a couple of years ago to store the paper towels because the ring that used to hold a cloth towel fell. I don't know why we never get rid of that ring. You can see it behind the pedestal.
THE SHELVES
These floating shelves were one of my very first DIY projects. I still like them a lot. What I don't like is the bottle collection that I put on display.
The collection kept on growing, creating lots of clutter on the shelves. The reddish stain on those shelves was also an eyesore.


While in the process of painting, sanding, and painting again those planks, I ran out of time. The holidays were right around the corner.


THE CEILING
Installing that embossed wallpaper was a fun project long ago. No, it wasn't too difficult because it was a tiny area. It looked more dramatic when it was painted gold.
The hardest part about this ceiling treatment was installing the crown molding. At that time I had no idea how to cut those corners. I tried to no avail.
Those crown corners have been a daily reminder of that fail. :'D
Ha, guess what?
Those crown corners are GONE! And so it's the embossed wallpaper and the gallery wall.
And let me tell you that this de-construction took place in November of last year. One day I just decided to empty the shelves and clean the walls and then, somehow I found myself getting rid of that ceiling. I knew that after taking it all down, somehow I was forced to come up with something new.
The following days I installed this frame made out of 2 x 4's.
My thinking here is that I didn't want to repair the Sheetrock, I'm terrible at patching walls, I can't imagine fixing a ceiling. Now, having that ceiling at 9-feet makes this narrow space look more claustrophobic up there.
The 2x4's will bring the ceiling 4 inches lower which is not that much, but it makes a good difference.
I was in the process of installing planks, as I did in the master bathroom. It gives continuity to the aesthetic of the entire home.
THE NEW SHELVES
I decided to makeover the shelves and spruce up the entire bathroom a little bit and wait until the festivities were gone to continue with the full makeover.
You can check all the details about these bathroom shelves makeover right HERE.
At that time I also got rid of the tiny baseboards and half-installed these chunkier ones.
Then, a quick decorating solution for that main wall was to install a wall frame.
And use a wallpaper remnant to bring some color to the space.
| Wallpaper |
It looked very OK from out here.
But inside the bathroom, this was the situation. ☺️
Well, it's now the time to go and fix that ceiling and bring a vanity and a new mirror to this little powder room.
I'm going for a modern approach to the overall design of this bathroom. I'll add a few farmhouse and even mid-century touches, as I've been doing throughout the house.
Stay tuned for the ceiling update, which is the next project.
UPDATE:
The new ceiling is already in place! You can check all the details on installing a planked ceiling right HERE.
Check out all the other projects that were tackled in this room to turn it into a beautiful modern space!
*This post contains affiliate links.

Love this as I have a powder room, too!
ReplyDeleteHi Guerrina! It's so good to hear from you. These tiny rooms can be challenging. :)
Delete