Installing a new ceiling treatment in a powder room is a simple way to revamp and add style to a usually small room.
You can paint the ceiling a new color, install vibrant wallpaper, or add a decorative medallion.
In my case, I decided to install wooden planks to maintain a cohesive look throughout the house, since I've already used planks in another room.
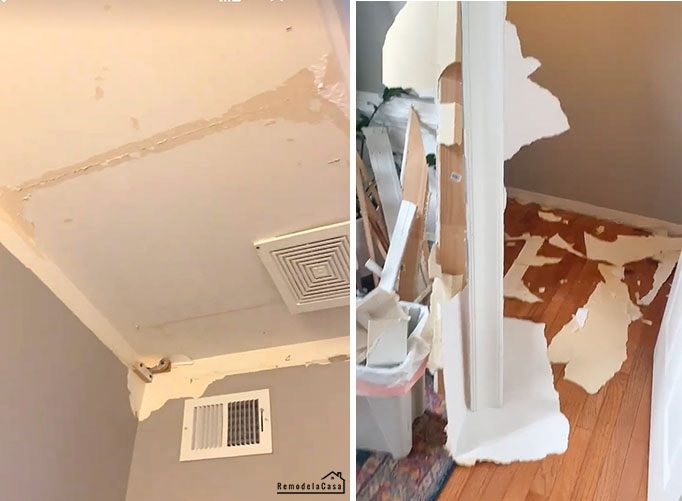
The floating shelves above the loo had been spruced up, and it was time for that dated ceiling to come down.
Instructions
As I reached the center of the ceiling, I cut out the hole for the electrical components.
As I've mentioned many times already, those crown corners were my nemesis; they needed to go!
And they were removed, along with the embossed paper and crown molding. :)
*This post contains affiliate links for your convenience. Click here to read my full disclosure policy.
The planks I was about to install are the same as the ones I used in our master bathroom HERE, with the same treatment. I can send you back there for all the details; however, I changed my strategy during this new planked ceiling install, as I didn't want too many nail heads/holes showing on the finished product.
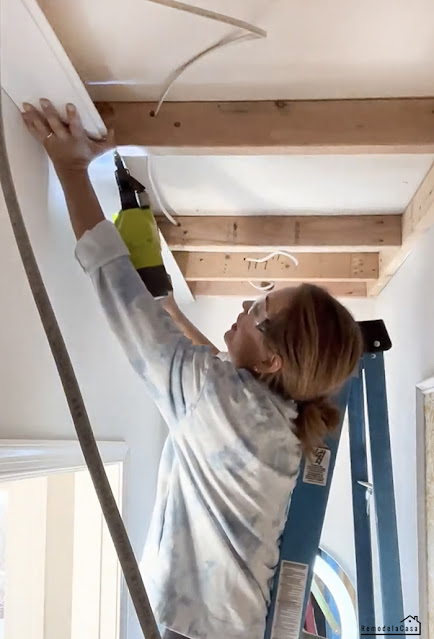
I could've installed the planks right on the Sheetrock, making sure to drive the nails into the middle of the joists above. But there was a problem with that type of installation: I only spotted one ceiling joist up there. The way I would've had to position the planks was horizontal, which I didn't like.
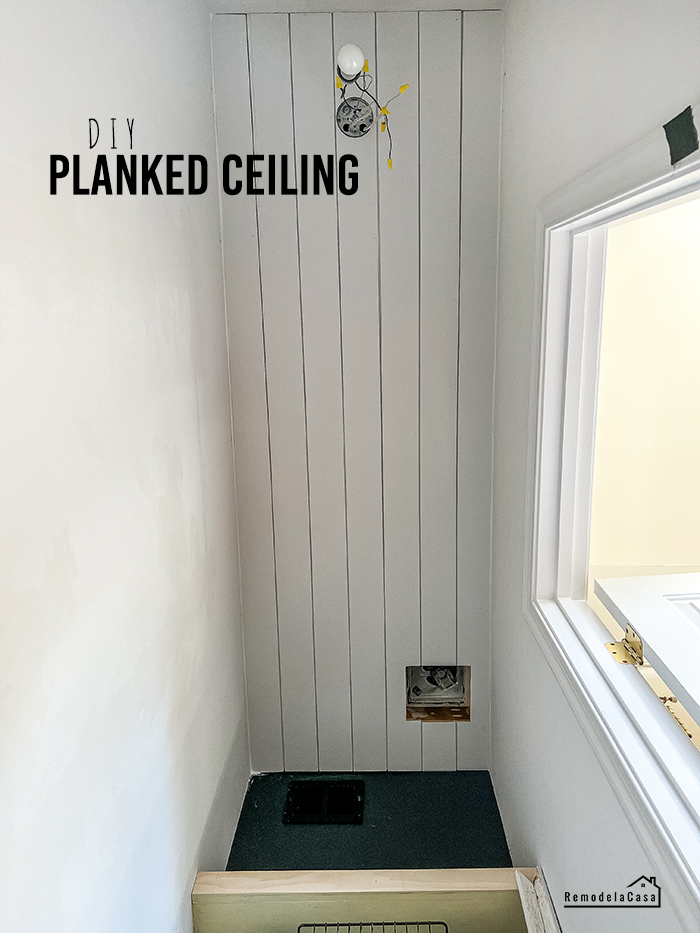
Now, this is a 32" X 7' X 9' room, a very narrow and tall room. The height was a bit disproportionate to the room's overall size. It was another reason for me to build a frame out of 2X4s. As you can see in the picture below.
The ceiling was going to be lowered only four inches, and I would have ample surface area to nail those planks.
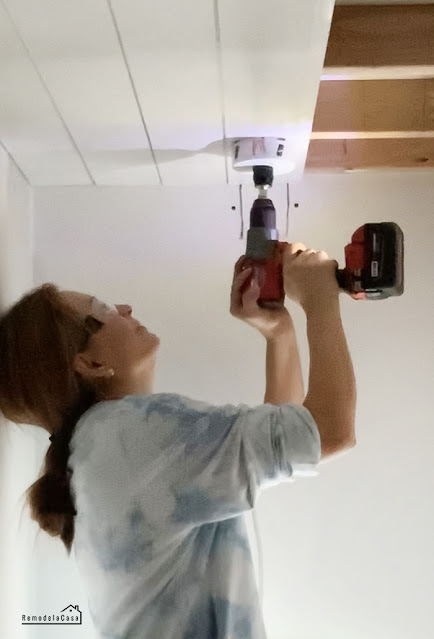
After running an electrical wire to install a light here in the back of the room, I also framed the ceiling fan.
It was now time to install the planks!
Once again, I used ShipLap boards for this planked ceiling. I love that the boards are primed and ready for paint.
I bought a six-piece box - Thank goodness I had a leftover plank from the other bath reno.
The Tools & Materials You'll Need:
- Planks - I used 9/16 in. x 5-1/4 in. x 8 ft. Primed Pine Nickel Gap Ship-Lap board (6 pieces per box)
- Brad Nailer
- Brad Nails
- Liquid Nails
- JigSaw
- Tape Measure
- Drill
- Safety Goggles
- Paint - semigloss finish
- Spackling
Instructions
PREP-WORK
Even before installing the first plank, you have to check/think about how you're going to install those planks. Doing the math, I only needed 7 planks, and I had to rip one of them. If that excess amount is more than half the plank, it's better to trim the two planks on both ends to keep the symmetry.
Installation usually starts on the wall opposite the entrance door or along the most essential side of the room. In my case, that main wall was very crooked. I placed the first plank along that wall and noticed a significant gap in the center of the wall between the plank and the wall. (left picture below).
The solution to getting rid of that gap on the plank is to scribe or copy the wall's shape along the plank & trim it.
I used a compass to mark the line, then a jigsaw to cut along it.
You can learn more about how to scribe for a perfect fit right HERE.
INSTALLING THE FIRST PLANK
Once I came back to the room, I checked the opposite wall by placing a plank all along, and it was perfectly straight. That realization made me change my strategy and, instead, start the installation right there.
Measure and cut out the planks around the electrical, or in my case, the fan duct.
I didn't want too many nail holes showing on the final planks, so I used lots of Liquid Nails during this planked ceiling installation.
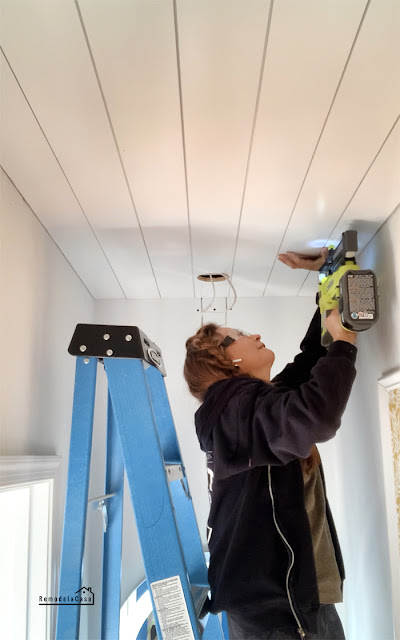
I brought this first plank up to the ceiling and set it in place by first driving a 1-1/2" brad nail in the center of the plank. Most of the nails were driven on that lip, which is mainly covered with the next plank.
For this first plank, I also had to add two more nails on the face of the plank, close to the wall.
INSTALLING THE SECOND & SUBSEQUENT PLANKS
For the second and remaining planks, I first applied Liquid Nails to the transverse 2x4 sections the plank would cover.
Then, I also added Liquid Nails to the back lip of the new plank for extra hold.
It was then brought up to the ceiling, and again brad nails were driven from the lip of the plank and onto the joists on the ceiling.
The new light fixture was moved from the wall to the ceiling.
Then, all the planks were installed similarly until I reached the last plank.
I had to trim it more.
The perfectionist in me thought that the gap between the wall and that plank was still too big.
However, after filling that gap with spackling paste I had on hand, it now looks excellent.
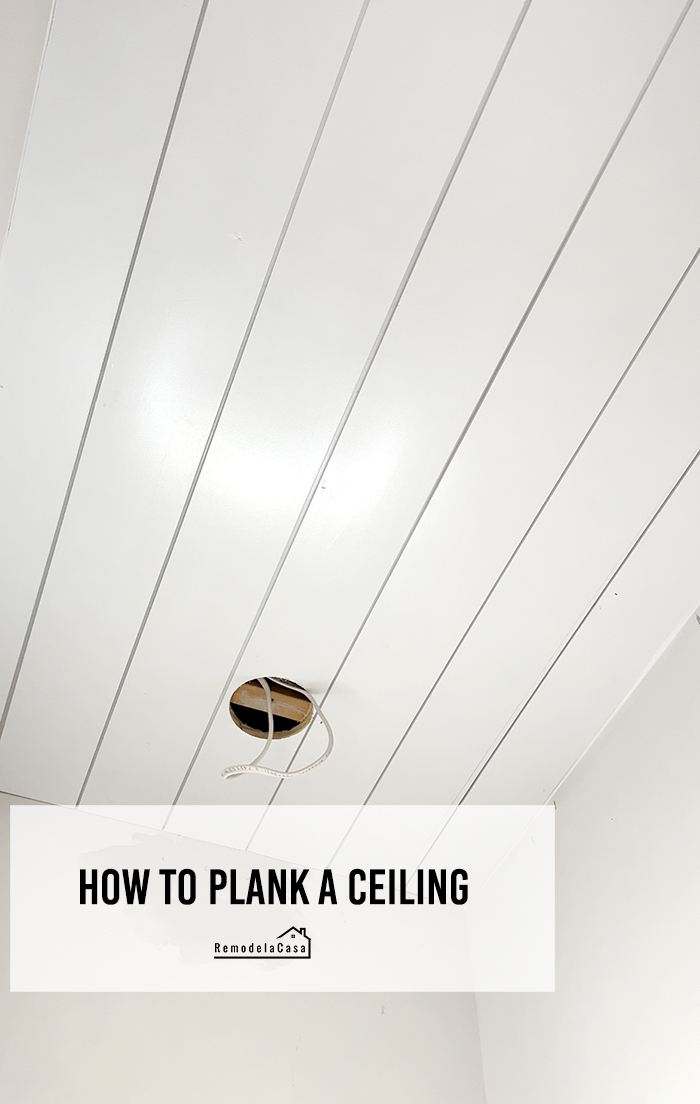
And here's how this ginormous ceiling's looking now! :D
I love the cleaner look!
But hey, stay tuned for the next project coming to this little bathroom: The Vanity!
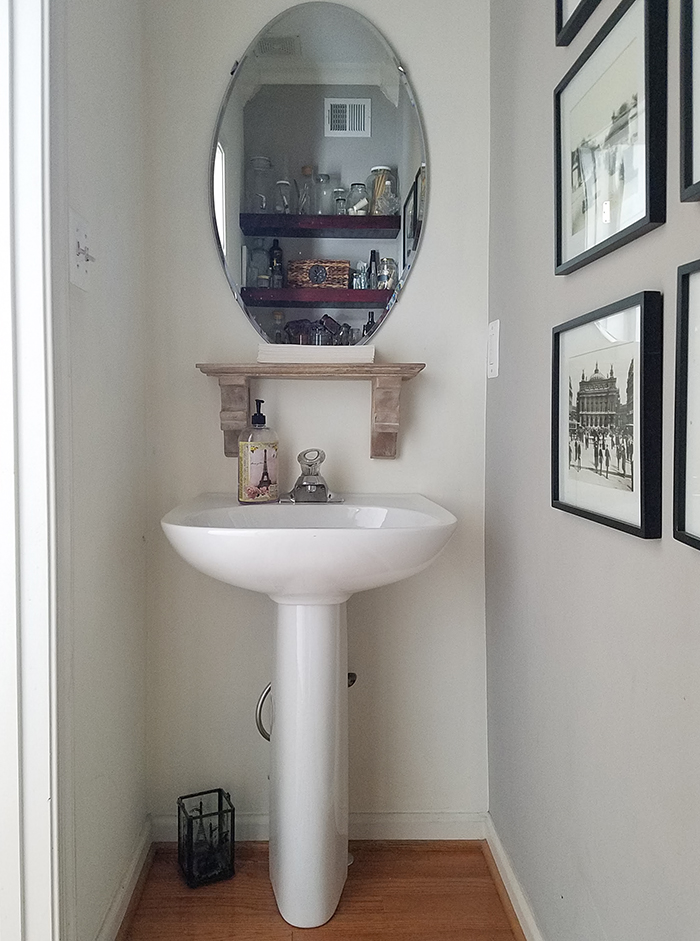
Let's say bye-bye to that pedestal sink. ;)
Let's take a look at all the projects tackled in this tiny powder room!
*This post contains affiliate links.








New comments are not allowed.