Do you have a theme in mind for your Christmas decor?
Rustic, red and white, gold, or perhaps you want to go for a blue Christmas?
Whatever your theme is, I know there is already an ornament or ornaments in this series that would fit your style, and there are many more still to come.
This year I'm going for a red and white theme with some gold thrown into the mix, I think today's project is going to be a good addition to it.
This year I'm going for a red and white theme with some gold thrown into the mix, I think today's project is going to be a good addition to it.
I used lots of gold and white decorative papers that I had in my stash. The owls put on their pretty outfits to celebrate the holidays. ;)
The materials you'll need:
Instructions
Cut two "owl"-lines out of your favorite paper and glue them together.
*This post contains affiliate links for your convenience. Click here to read my full disclosure policy.
The materials you'll need:
- Assorted decorative paper
- Elmer's Glue
- Scissors
- Hole punchers (1", ½", ¼")
- Jute rope (5" for each)
- Owl printable (You can find it here)
You can find most of the materials at Michael's
Instructions
Cut two "owl"-lines out of your favorite paper and glue them together.
Attach the jute rope at the top in between the two of them, as seen in the picture below.
Cut out the two wings, preferably in a different motive paper.
Cut out the two wings, preferably in a different motive paper.
Glue them to the sides of the owl, without gluing them all the way. Curl the ends of the wings.
Each owl needs three different size circles for each eye. (I used a 1" puncher for the biggest circle and a regular office puncher for the smaller one, the last one I had to cut out with scissors, but a ½" puncher would be perfect for this)
The final step is to cut and glue the nose.
Each owl needs three different size circles for each eye. (I used a 1" puncher for the biggest circle and a regular office puncher for the smaller one, the last one I had to cut out with scissors, but a ½" puncher would be perfect for this)
The final step is to cut and glue the nose.
My daughter kept on telling me I made them too nosy. :)
Oh, well, it was too late for me to shrink those, but if you make them you can fix this issue.
I gave them each a little house...
But, they preferred to perch on their tree branches!
:)
Don't forget to stop by to check all the creative ideas my blogging friends are sharing today!
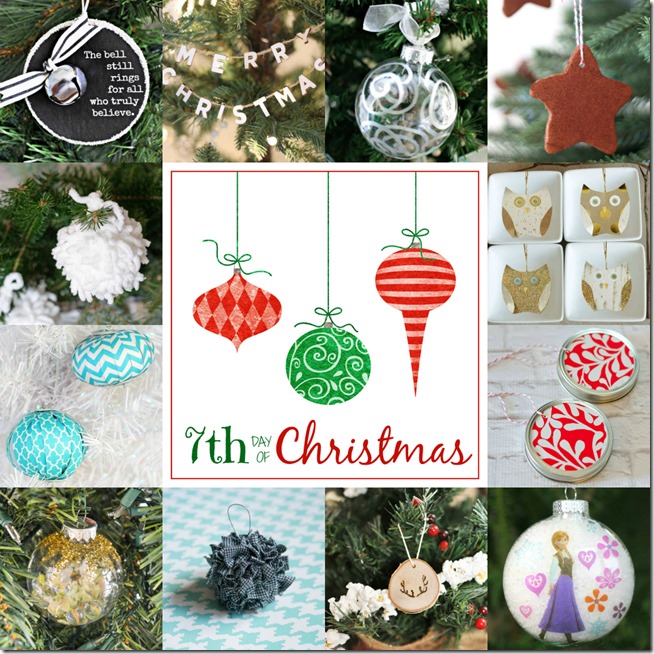
Click on any of the pictures below to check my 12 Days of Christmas Ornaments.
P.S. For even more holiday inspiration check out Michael's on Facebook, Pinterest, Instagram, and Twitter
Oh, well, it was too late for me to shrink those, but if you make them you can fix this issue.
I gave them each a little house...
But, they preferred to perch on their tree branches!
:)
Don't forget to stop by to check all the creative ideas my blogging friends are sharing today!
Polar Express Bell Quote Ornament | Serendipity Refined
Merry Christmas Jute Garland | Thrifty and Chic
Silver Painted Ornaments | Mom 4 Real
Cinnamon Dough Ornaments | The Happier Homemaker
Yarn Snowball Ornaments | May Richer Fuller Be
Paper Owl Ornaments | Remodelando la Casa
Scrapbook Paper Ornaments | Lovely Etc.
Mason Jar Lid Ornaments | It All Started With Paint
Marbles Ornament | Whats Ur Home Story
Antler Wood Slice Ornament | Cherished Bliss
Simple Fabric Ornament | Bigger Than The Three of Us
DIY Princess Anna Ornament | All Things G&D
Click on any of the pictures below to check my 12 Days of Christmas Ornaments.
 |  |  |  |
 |  |  |  |
 |  |  |  |
*Some of the products used in this post and the 12 days of Christmas Ornament event were purchased with a gift card that I received from Michaels*


Que bonita papelería usaste , esos búhos son todo un encanto,,deseo que tengaun bendecido día !!
ReplyDeleteBesos
Not too nosy at all! I love their noses just as they are. And remember, as mothers of teen girls, they are obsessed with noses for the next few years ...
ReplyDeleteLove your perfectly appointed nosed owl ornaments!
:) Linda
They really are perfect! I love owls...the real ones and your adorable paper ones! Very cute!
ReplyDeleteThese are so adorable!! I love how easy they are. They'd look so cute on my tree! Thanks for sharing the tutorial!
ReplyDelete