

Are you gals ready for a great dresser before-and-after?
I hope you love how this one turned out, too!
Yup. My little girl is now living her very own life in a new city with a new job and tons of dreams! But wait a minute, that's not all: my son also moved out and is now attending the University of Maryland. The birds flew off the nest. I'll be updating you on this, at least on how her apartment turns out.
Over the past few weeks, I felt as if I had worked for a delivery company. From forks and knives to beds and dressers, I had to find everything they needed to help those kids on their own.
I found this beautiful free dresser on Marketplace. The first picture was from the listing, and I went to pick it up without even knowing the dresser's measurements.
As you can see in the picture below, Louie was my right-hand dog when I was getting that piece out of the van!
*This post contains affiliate links for your convenience. Click here to read my full disclosure policy.
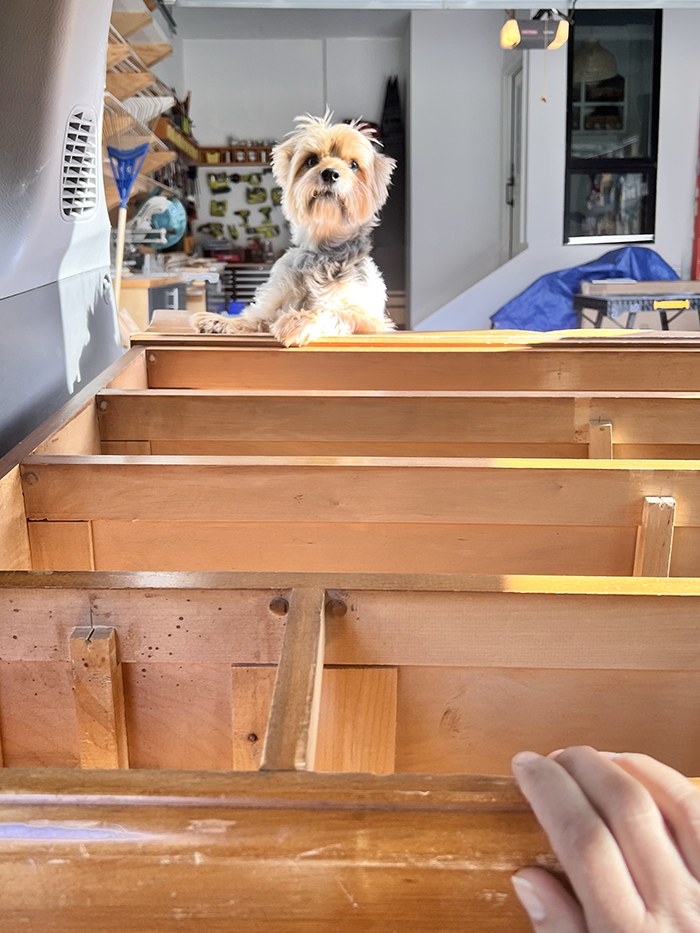

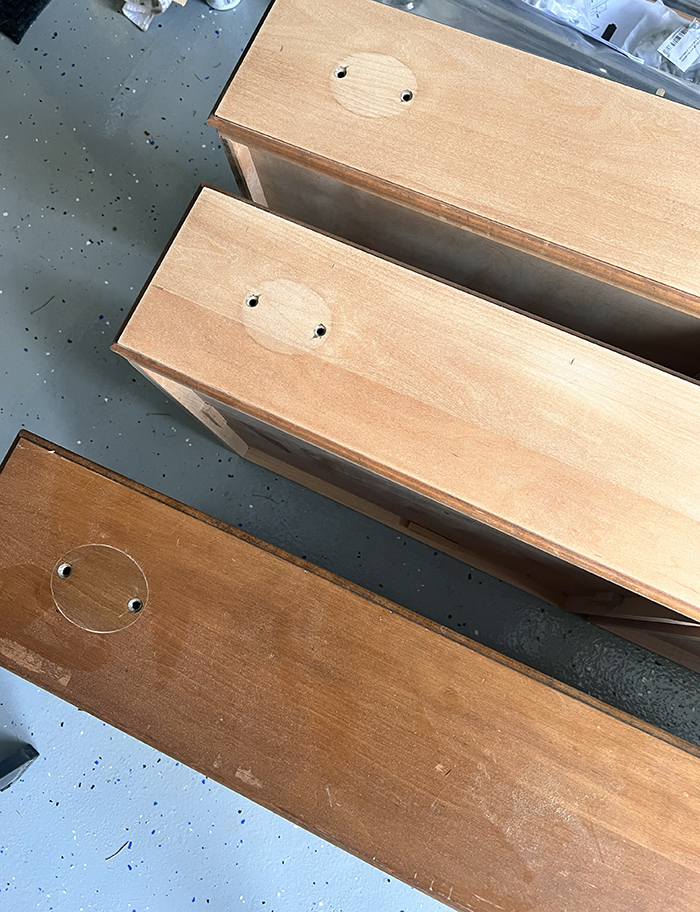
The dresser was in tip-top shape. The drawers sported strong dovetail joints and nice dividers that were easy to take on/off.

This is a Solid Rock Maple dresser by the Ye Olde Randolph House in Vermont. Early American furniture dresser.

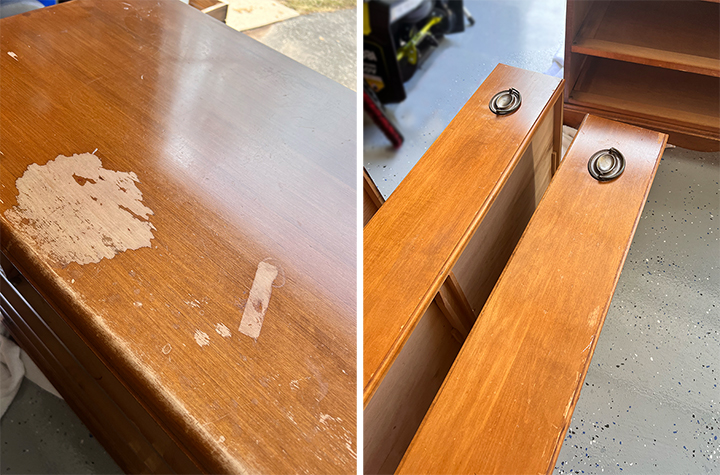
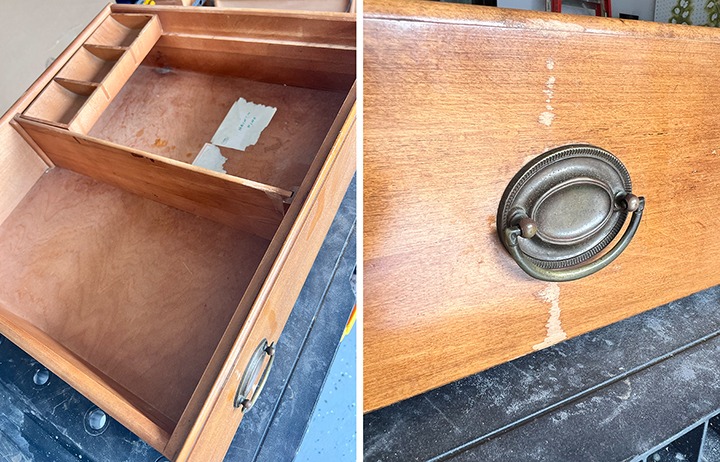
The dresser's flaws included a few stains on the top, another stain on one drawer, and loose drawer supports.
The yellowish finish also made this lovely and well-made piece look dated.

I love that little knick-knack ride-on compartment and the pulls.
1. REMOVE THE WOOD STAIN

Let's dive into this makeover!
I will recount all I did, but this is not necessarily a tutorial. I didn't want to buy a single product for this makeover, cause throughout the years I've acquired tons of supplies for this type of job, and that's what I wanted to use.
What was my goal?
My goal was to eliminate those pesky stains and reduce the yellowish tone on the dresser.
I sanded the wood stain off with my orbital sander. You can also use a chemical stripper if you need more power.
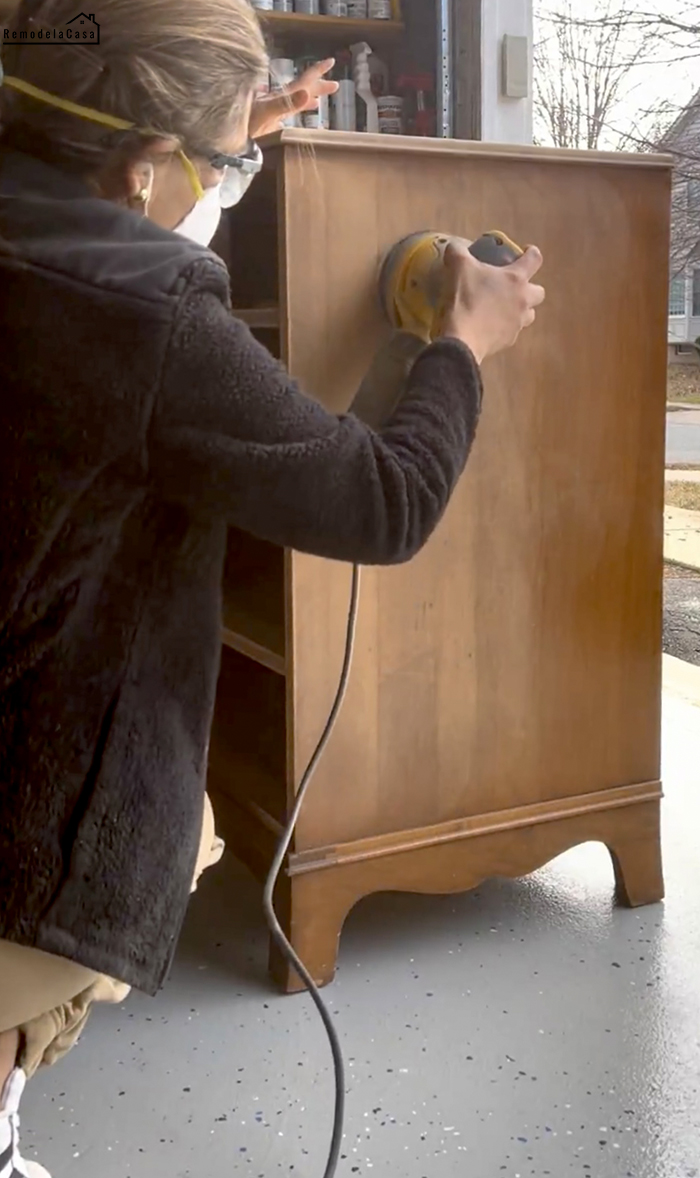
You must remove the stain on those crevices and curved molding pieces by hand.


2. CONDITION THE WOOD
The sander was the perfect tool for removing the stain on all those big, flat surfaces.
I started with 80-grit sandpaper, then moved to 120 and 220.


This is how the dresser looked when the wood stain was sanded off. The top stain was sanded off. That spot looked even lighter than the surrounding area.
At this point, I decided to go with a lighter color or whitewash, as the tone was still too warm for my liking, and the final sealer would bring it up.

My second step was to condition the wood to prevent blotchiness when applying the stain.


I brought out some masculine props for these pictures, since this dresser was going to my daughter's boyfriend, who was also moving to a new space.


However, when the conditioner settled in, that top stain was dark and pronounced again.
I didn't want to sand it anymore, and I didn't want to buy more stuff to try to minimize the stain. I researched and read about diluted oxalic acid, which works well for this situation.
I didn't have that product or the time to buy it, so I went into "disguise-it" mode with that stain.

3. WHITE WASH IT
As per the initial plan, I used Varathane White Wash Wood Stain to reduce the yellowish/reddish tone.
I applied it with a cloth rag and immediately removed it. It brought the tone down, but the stain was still evident.
4. GLAZE IT
I've had this Valspar translucent color glaze since I painted the kitchen island duck egg blue. I loved how this product worked on that project so much that I brought it out again to add more depth to this dresser and, most importantly, to minimize the stain's visibility.
I love the character the glaze imparted to those little crevices on the dresser, but although it helped, it did little to conceal the stain.
5. WAX IT
My last resort was to use dark wax to try to hide the stain.
However, to work the dark wax around your piece, apply clear wax first, let it sit, and buff it before applying the dark wax.
Luckily, the dark wax did the trick! :)
I randomly applied thin lines of dark wax to the dresser's top, then immediately wiped them away with a rag.
Those small dark lines did a better job of disguising that spot.

The picture below shows the whitewash and dark-glazed lines in those crevices. The dark wax was applied only to the top of the dresser.
At first, I wanted to update the hardware using long pulls. However, I changed my mind when I couldn't remove those hardware marks on the drawers. Instead, I spray-painted the same pulls black.

Take a look at the new and improved dresser. It was ready for a photoshoot.


Oh, I almost forgot! I cleaned up the drawers and lined them with this black-and-white paper I also had in my stash.

Can you see the stain?
Yes, I do.
But hey, it's not that huge, bothersome mark. Those little variations on the wood were made with glaze and dark wax, which disguised the big circular mark.

The recipient didn't find a flaw in this dresser, which was a good sign. ;)


I'm leaving you with some detailed shots of this pretty piece.


The dresser was delivered, and it was hard to bring it to his second-floor apartment because it's made of real wood. 👍🏼
*This post contains affiliate links.

It looks great, job well done
ReplyDeleteThanks!! 😘
DeleteWell done!!! Some days I really miss doing these makeovers…this one definitely made me miss it! Beautiful job!
ReplyDeleteThank you! Totally agree with you on this. It was a long time since my last furniture makeover, that as soon as I saw the dresser I wanted to give it some of my time and effort. Although, many times I question my own sanity when in the middle of all that sanding and bufffing. :)
DeleteOh and congrats on being an “empty nester” but fear not…they usually return;)
ReplyDeleteOh no!! 😁😁 It's been bittersweet. The house feels empty and of course I miss them, but I definitely have more time on my hands.
DeleteAs always: LOVE IT!!! cs
ReplyDeleteThanks my friend!! ❤️❤️
DeleteWhat a beautiful piece! It's great to hear from you and seems like we've both been experiencing similar changes! My son and grandson moved into their own condo in January...I lost my job of 26 years in December...not sure what my purpose in life is at the moment, lol!
ReplyDeleteOh no, Guerrina, I'm so sorry to hear you lost your job. These major life changes are tough to deal with. Girl, I'm heading off to reach out to you through email.
DeleteWow this piece turned out great, after all the different things you tried!
ReplyDelete