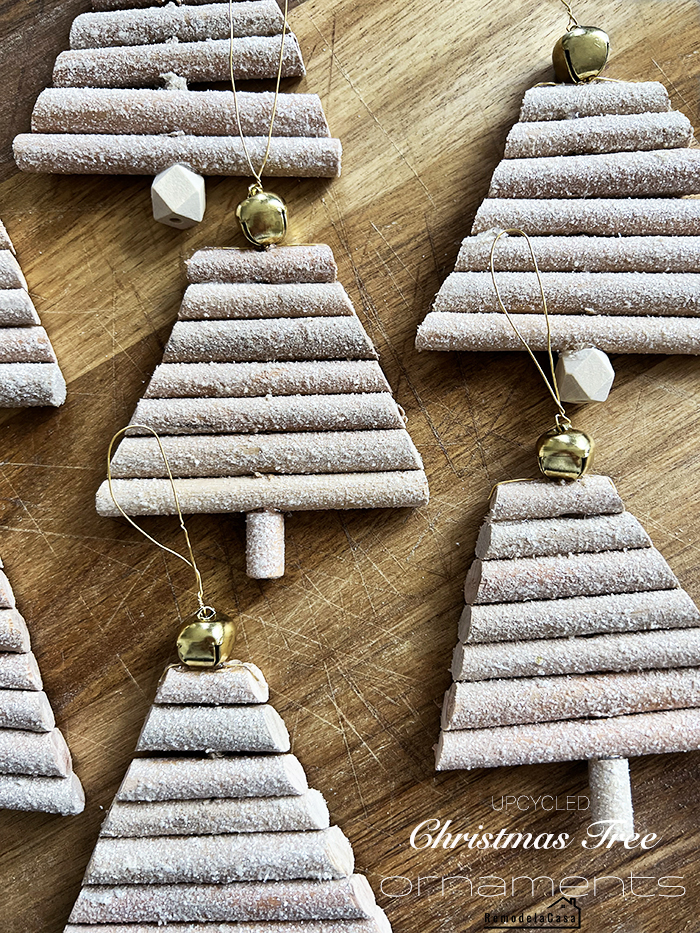
Old holiday decor was used to create a bunch of cute little wooden Christmas tree ornaments. Let's use, reuse, and upcycle our old decor this Christmas!
Hello there!
Are you in decor mode already?
I finally gave the green light to this year's holiday decor. The tree was the first to go up, but it looked empty.
Ha, not for too long.
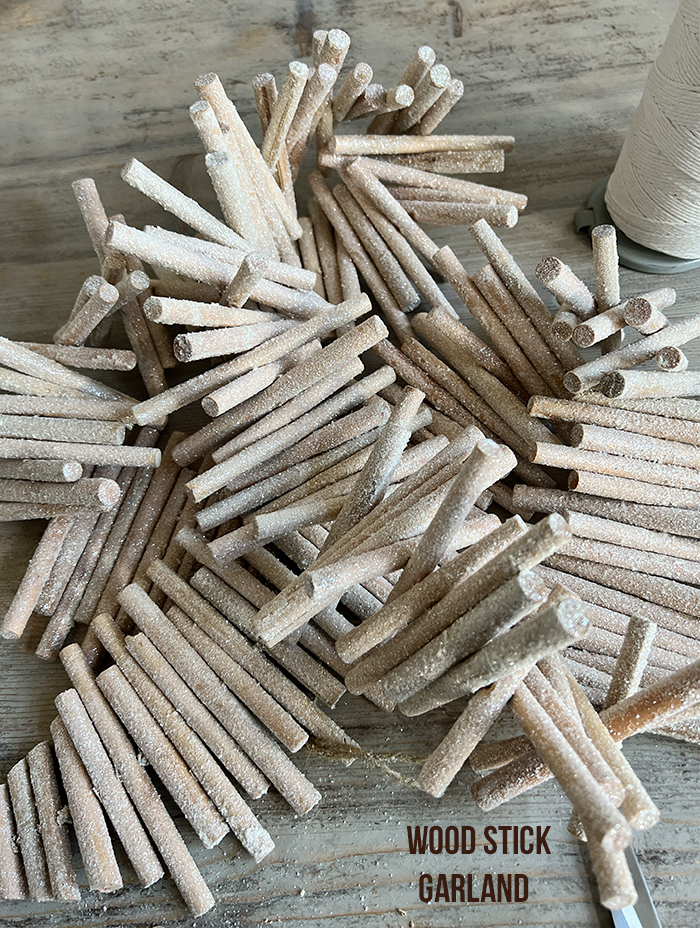
In the middle of the chaos in my basement, when I opened all those storage bins, I spotted a wooden stick garland I bought a few years ago. Hard to miss because that thing was super bulky.
Can you believe I've never used it after buying and storing it for over three years?!
It was an after-season sale, and its price was around five bucks. I tried to use it once, but it didn't make the cut.
It's about time to use it. Let's take a look at how those little trees were created! I even made a short video.
*This post contains affiliate links for your convenience. Click here to read my full disclosure policy.
Don't have a wood stick garland in your stash?
No problem!
You can recreate this Christmas tree ornament very easily using wood dowels. I'm listing the materials you might need if you go that route.
These are the dimensions of the little trees I made:
Base: 3-3/4"
Height of sticks: 3"
Total height with base & topper: 4-1/4"
The Materials & Tools You'll Need:
Directions:
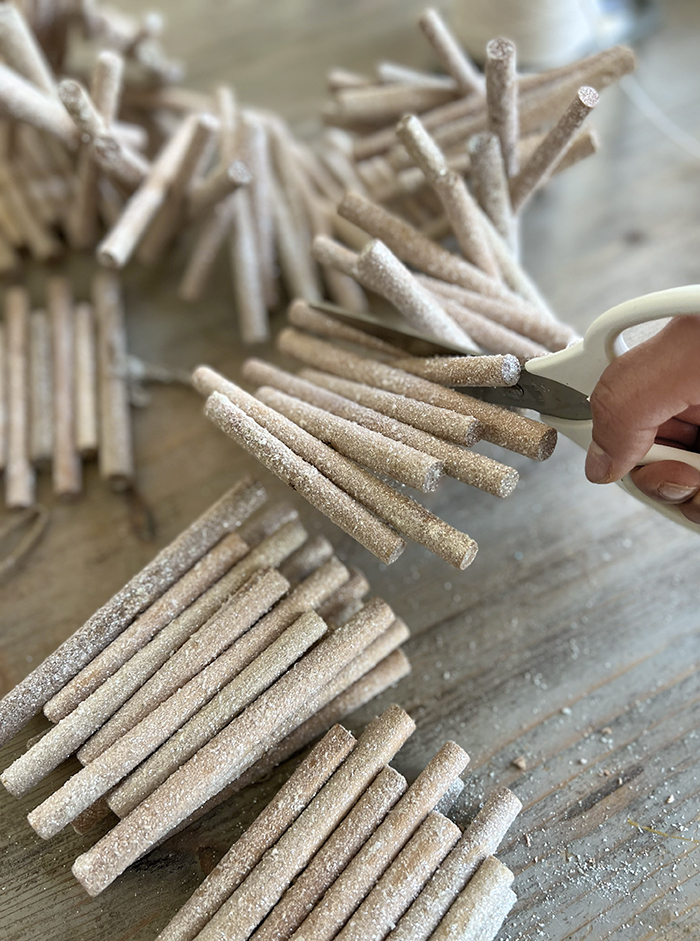
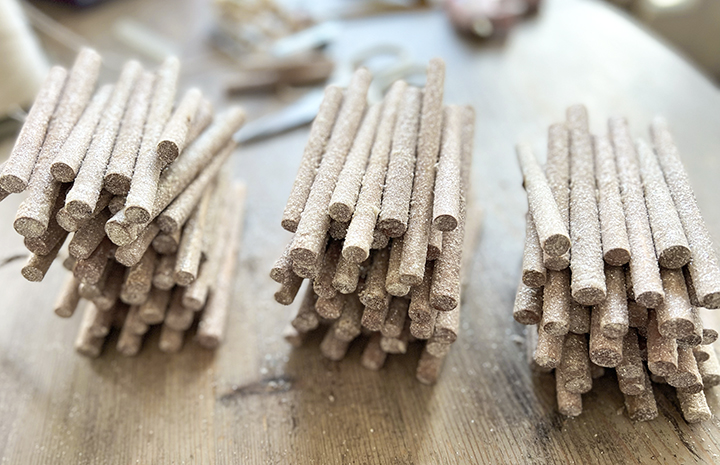
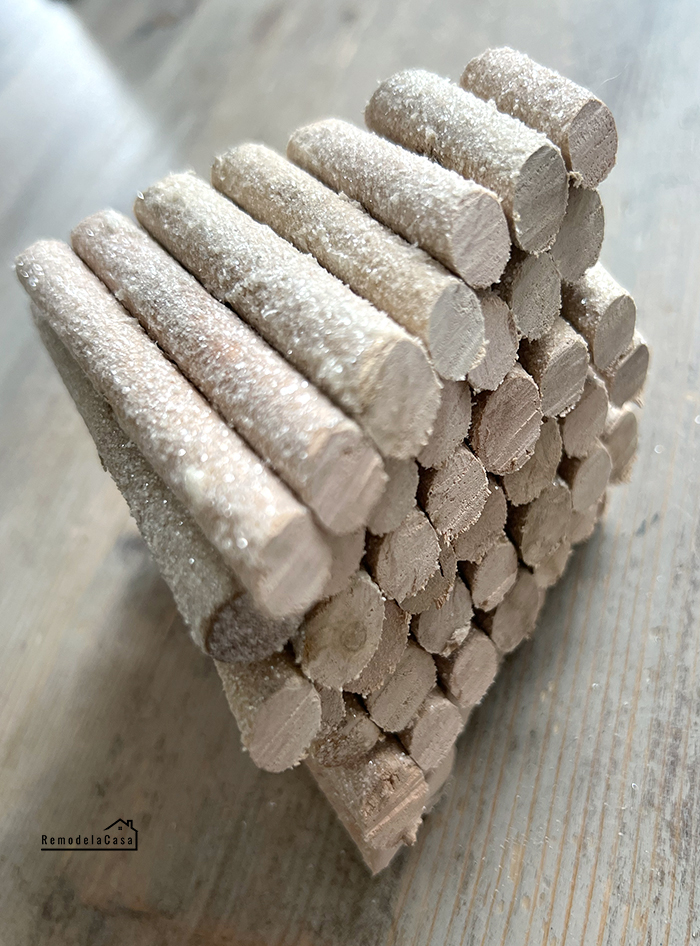
The garland was tied with twine, and I cut it into sections of 7 sticks using scissors.
Now, if you're using dowels to recreate these little trees, you might need to open 1/8" holes in the middle of each dowel, then thread a piece of rope to tie all dowels together, securing them with hot glue on both ends as I did with mine.
CUTTING THE TREE SHAPES
In each section, I first drew the triangular/tree shape from each base corner up to the top center, being careful not to touch the twine securing the sticks together.
What have you repurposed or upcycled lately? I would love to hear about it.
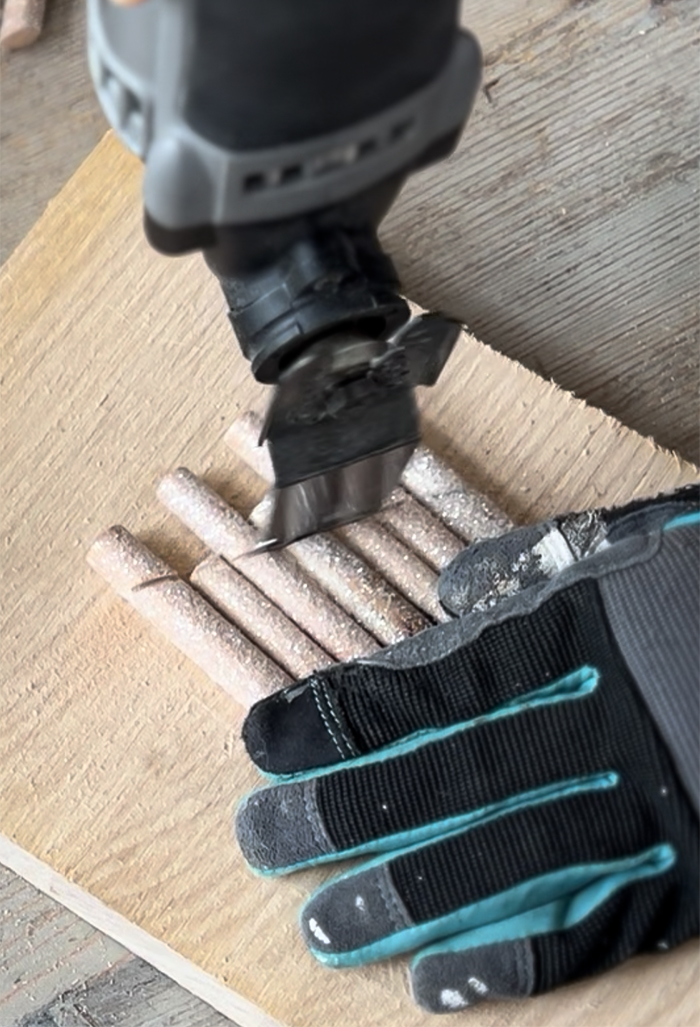
Then, using my Dremel oscillating tool, I followed those lines to cut out the tree shapes.
You're dealing with a power tool, use caution, and remember to always use safety gear!
Hold the section of wood sticks firmly and let the tool do its job. Go slowly.
You have to do a few passes until the blade can go through.
A dot of hot glue was applied at the top and bottom to secure the twine to the logs.
ADD A BASE AND A TOPPER
I used small sections of the same wooden stick and wooden beads to give the little trees a trunk/base.
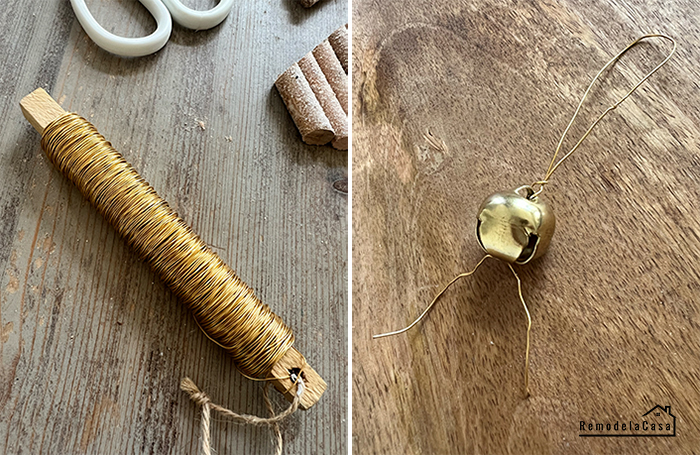
For the tree toppers, I used a 1/2" jingle bell and an 8" length of wire. You can also use ribbon or thread to jazz them up further. I used the thin wire I had in my crafty box.
Both tree trunks and toppers were attached to the tree forms with hot glue.
I LOVE THEM!!
The texture and dimension they sport are fantastic!
If you use wooden dowels, add Modge Podge/glue and your choice of fine glitter to match your decor.
For more Christmas Ornaments ideas check these out:




You are so crafty...I had to make ornaments for my black and white Christmas tree...meh!
ReplyDeleteAwww, these Christmas trees are so cute! I think adding some seqiunes should be better!
ReplyDeleteWhat a nice craft!
ReplyDelete