Top Menu

DIY - Air Dry Modeling Clay Star Ornaments

Star Christmas ornaments
These little air-dry clay star ornaments are the cutest and so easy to make! 

Running out of time in the decorating department, or can't find the perfect ornaments this late into the holiday season?

If this is the case, you can make a big bunch of these little star ornaments in one afternoon and give your Christmas tree a totally new look.

*This post contains affiliate links for your convenience. Click here to read my full disclosure policy.
Star Christmas ornaments

Last year, I bought a small-ish Christmas tree for our living room. I didn't want too many ornaments on it, but the ones I used last Christmas weren't enough for my liking. 
This time around, I knew I had to make my own to make it more festive.

I love how these Air Dry Modeling Clay star ornaments turned out. It's a simple and economical process. You can even make extras to give to family and friends! Let me show you a little video that covers most of the process!


Hearty air-dry modeling clay - star ornaments

THE MATERIALS YOU'LL NEED:
INSTRUCTIONS:

I used white Hearty modeling clay. My daughter, who is passionate about working with all types of clay, recommended this brand to me, and well, she knows her stuff. I had no trouble whatsoever using this type of clay.

I bought two 50-gram packages, and with those two packages I was able to make 33-star ornaments - each star is 2-1/2".

1. ROLL THE AIR-DRY MODELING CLAY

Unpack the clay and set it on a clean surface. Using the rolling pin, roll it out uniformly at about 1/4" thickness. If you are using air-dry clay, keep it in an airtight bag or container when not in use to prevent it from drying out.  
Rolling out air-dry modeling clay with rolling pin

2. IMPRINT THE CLAY

This is an optional step. You can go on to the next step if you want plain white ornaments.

If you choose to imprint your star ornaments, you can use a great variety of materials that you have at home to do this task. Anything with a texture you like can be used. For instance, you can use stamps, wood, kitchen tools, and other fabric materials such as lace, ribbon, and twine. But if there is a specific pattern you want to achieve, there are plenty of clay pattern rollers and clay pattern mats you can buy. Using these tools made for clay also prevents dirt and fibers from household materials from getting into the clay, if that is a concern for you.  

I used a small piece of eyelet fabric that I've always loved. I wanted those little circles imprinted in my star ornaments.

Once the air-dry clay was rolled out evenly, I placed the piece of fabric on top of the clay and began imprinting the design with my hands.

Using my hands to imprint the clay gave it a somewhat uneven consistency. 
Later on, I opted to imprint the fabric design onto the clay using the rolling pin, resulting in even pressure and a uniform design throughout the clay.
imprinting design onto air dry clay

3. CUT OUT YOUR AIR-DRY CLAY ORNAMENTS

I used a star cookie cutter, but once again, you can use any design you want... Circles, snowflakes, trees, gingerbread men, etc., etc. You can even print out a design you like online and use an X-Acto knife to carefully cut it out.

Bring the cookie cutter on top of the clay and gently press it down into the clay. Lift the cookie cutter and continue pressing it onto other parts of the clay.

Then, using a straw, make the holes to hang the ornament.

You can now pick up the stars and set them out to dry.

Continue kneading and rolling out the remaining clay until all your ornaments are cut out.

Cutting out star design on clay

4. DRY THE STAR ORNAMENTS

I first set the stars onto a wooden board. After about 30 minutes, I noticed they started to pucker, indicating they were lifting off the wooden surface. The stars were curling!

This happens most of the time, especially when the dough is rolled out too thin. 

I didn't want my stars to look curly, so I used a set of cookie sheets to keep them flat.
I first placed one of the cookie sheets, bottom side up, and then placed the stars, making sure none were poking out of the cookie sheet. Then I put the other cookie sheet on top of the stars (right side up) and placed a couple of wooden boards on it. Those wooden boards didn't weigh much, but they helped apply pressure to the stars, keeping them from curling. 

You shouldn't add something too heavy that would squish the designs or anything too light that the stars have space to curl.

I left them out to dry that way for 2.5 days.
how to dry star Christmas ornaments

5. SAND THE STARS

Once dry, I noticed the stars had all those fuzzy sides you see in the picture below. This is due to the nature of paper clay; the paper fibers are showing. 

Use 220-grit sandpaper to lightly sand away all those frayed particles.
sanding fuzzy edges of modeling clay star ornaments

After dusting them, you can paint them or even add glitter to them. I left them alone; they are very pretty in this simple design.

The final part was to add the twine, which I cut at 16" each.

a stack of air dry modeling clay star ornaments

As a special touch, I added a bead to the top of each of my pretty Christmas star ornaments. 
how to make air dry modeling clay ornaments

Love his view from my chair in the office, looking at the Christmas tree full of starry stars. ⭐⭐
Christmas tree full of star ornaments


Well, friends, this is a great project to work on with your kids and grandkids. They don't have to be perfect, remember it's all about creating happy memories.  

----------

In other news, my friend Marty from A Stroll Thru Life is kicking off the Christmas Home Tours today!! Head over to her blog to hop onto the tours!!

Check the entire week's lineup below. So exciting!


MONDAY

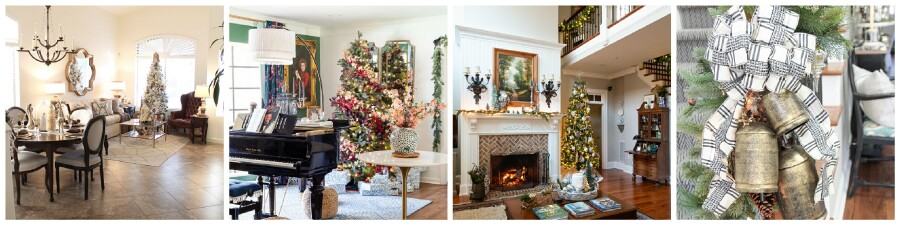
A Stroll Thru Life  |  Up To Date Interiors  |  Our Southern Home  |  Southern Hospitality

This Is Our Bliss  |  Southern State of Mind  |  Inspiration For Moms
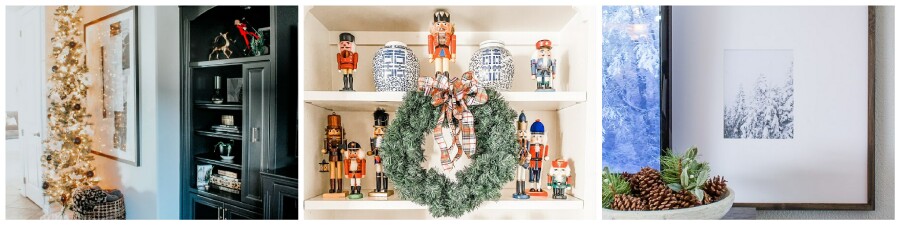

TUESDAY

Making it in the Mountains  |  Decor to Adore  |  Pink Peppermint Design  |  Thrifty and Chic

Cuckoo4Design  |  White Arrows Home  |  Hymns and Verses
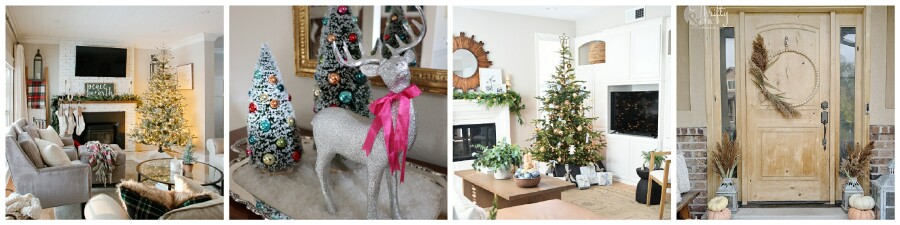

WEDNESDAY

StoneGable  |  Whispering Pines Homestead  |  Worthing Court  |  Grace In My Space

DIY Beautify  |  Remodelando la Casa  |  LeCultivateur
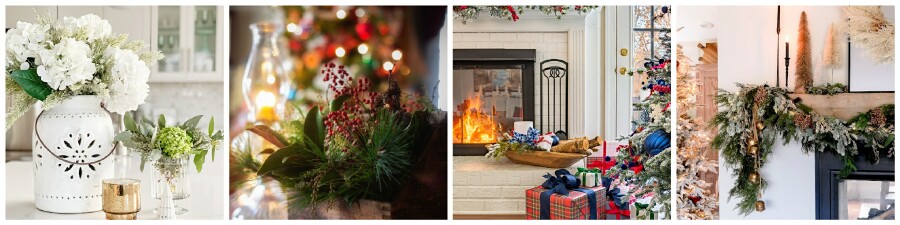

THURSDAY

Designing Vibes  |  The Stonybrook House  |  A Pretty Life  |  Calypso in the Country

Clean and Scentsible  |  11 Magnolia Lane  |  Chalking Up Success


FRIDAY

Fox Hollow Cottage  |  Follow The Yellow Brick Home  |  Casa Watkins Living  |  Quarters One

Noting Grace  |  CitrineLiving  |  County Road 407


* This post contains affiliate links.


Copyright © Remodelando la Casa. Designed by OddThemes