Have you been outside to take note of all the damage winter inflicted upon your flower beds?
I know! It's pretty saddening.
Replacing damaged shrubs and planting new flowers is one part of the solution to bringing beauty back to those beds. The other part is fixing those edges that were erased in winter, and that's a very easy solution that doesn't require too many tools!
Let me show you how easily you can edge those flower beds and maintain those sharp edges for the rest of the year.
The picture below is how our front flower bed looked after removing damaged branches, planting two new bushes, and dividing one of those yellow lilies. It was about time to add some mulch, but before doing so, I had to fix that edge. Look at that! It was an entirely flat area. :(
*This post contains affiliate links for your convenience. Click here to read my full disclosure policy.
Don't you love the finished look that a sharp line between the flower bed and the turf imparts to the overall look of the yard?
Maintaining that sharp line is what it's called edging.
You don't need fancy tools to set up or maintain that edge. In fact, the only tool you might need for this entire job is a half-moon edger. At the end of this post, you can see a time-lapse video of me setting this edge. ;)
 |
| | Wood Handle Turf Edger | |
1. LAYOUT THE DESIGN
The first task is setting the line you want to follow. You can use an old hose or a rope to mark the edge of the flower bed. Since I was only repairing mine, I just followed the almost-vanishing line I already had.
2. CUT ALONG YOUR DESIRED LINE
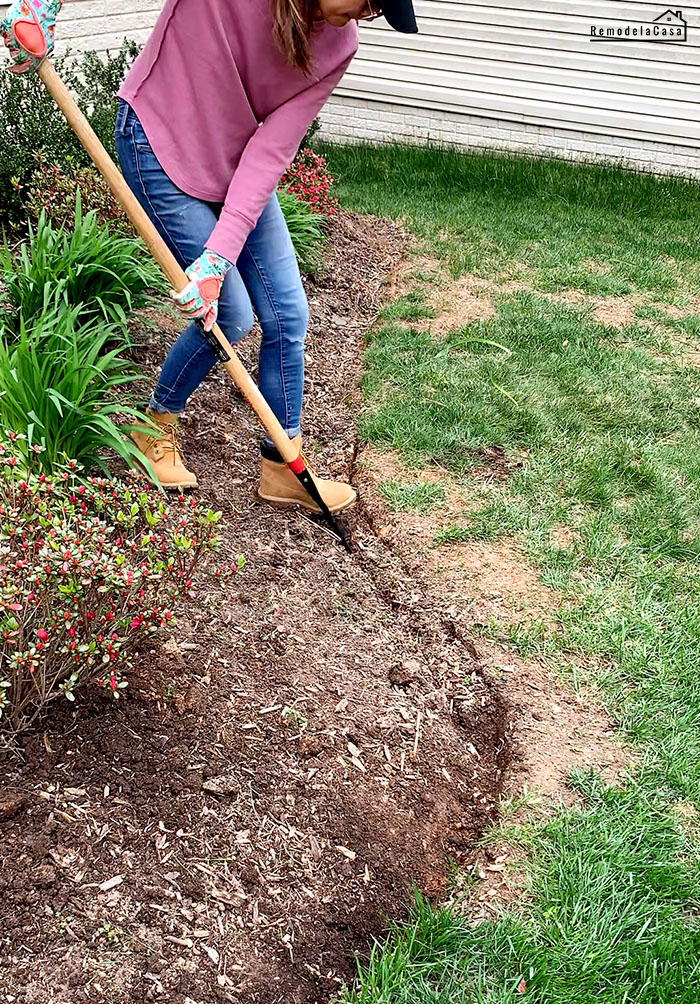
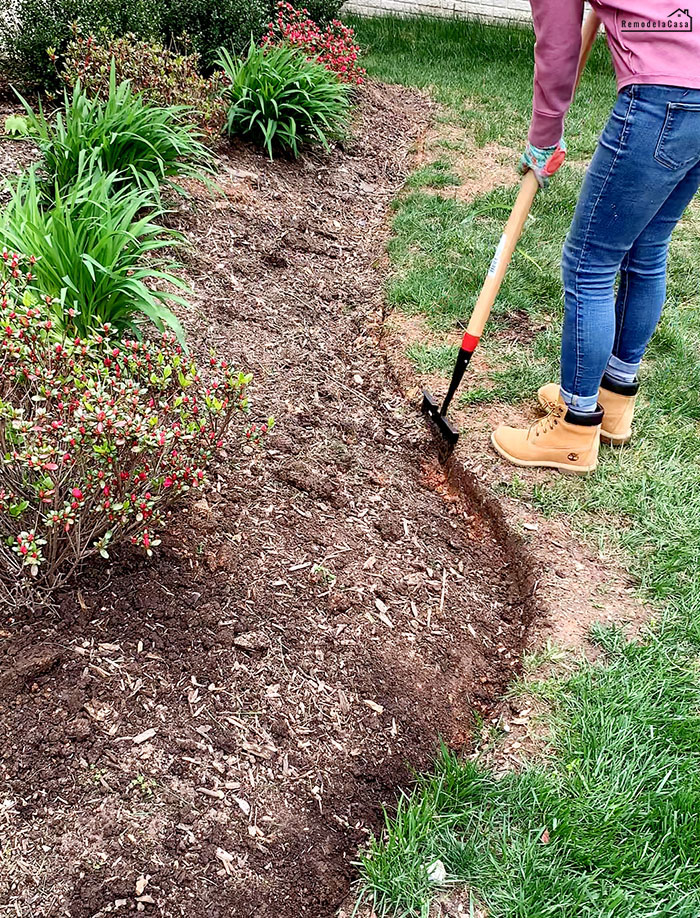
Use the half-moon edger to cut all along the line you're following. Use your foot to push hard on either side of the top little plates of the edger to bring it straight down into the ground, cutting the turf.
Roots are another troublemaker. They're also hard to cut with an edger, so I keep a hand pruner ready to cut those pesky ones.
3. BACK-CUT ALL ALONG THE PREVIOUS LINE
4. CLEAN UP
Get inside the flower bed area and slice the turf or soil using the edger at an angle.
 |
| | Gardening Gloves | Boots | Jeans | |
4. CLEAN UP
You can now remove that piece of loose turf or soil. You'll end up with a little trench that gives the flower bed a sharp line.
I didn't remove much turf; I threw mainly soil and mulch back into the flower bed using the same half-moon edger.
That little trench is excavated at the beginning of Spring every single year. Then, soil and grass seed are thrown there on those bold spots on the turf.
The picture below shows how this area looked at the beginning of summer last year.
KEEPING THAT SHARP EDGE all year long is very simple, too. We trim the edges every time we mow our lawn.
Last year, I did an entire blog post about this; it's easy and goes fast!
*This post contains affiliate links.


If you turn your trimmer upside down it will keep your edges cut and clean.
ReplyDeleteHa I gotta give this a try. Thanks!
Delete