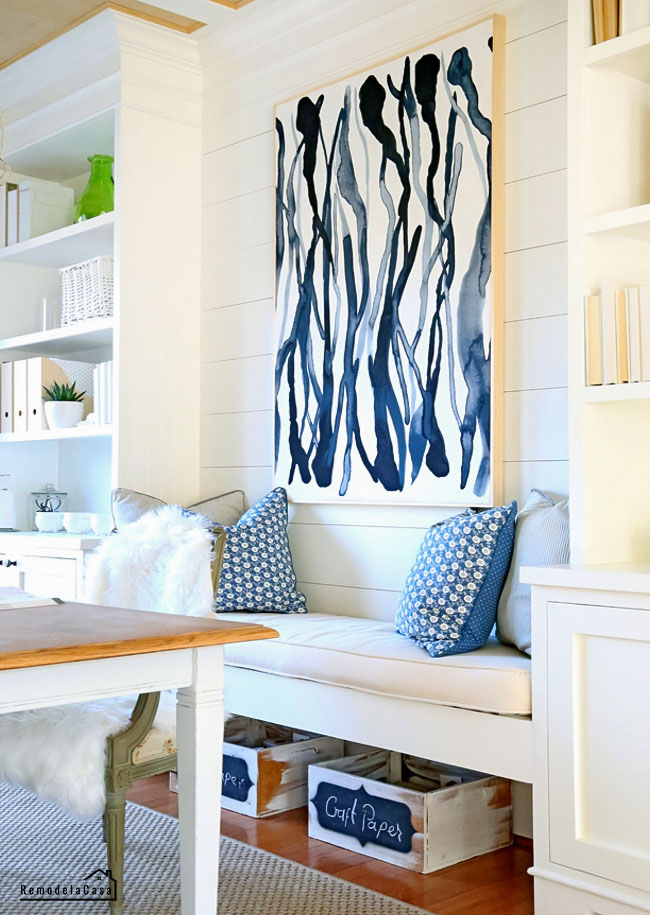
Well, I was organizing some pieces of fabric that I had in my bedroom when this piece popped up:
*This post contains affiliate links for your convenience. Click here to read my full disclosure policy.
 |
| Wave shaped fabric |
I bought the fabric at Ikea last year. Only one yard, thinking on using it for an art project. I don't remember why I didn't use it before, maybe laziness? who knows.
Well, good thing. It was the perfect fit for the wall in the office. But, what I like the most about this project is that you can update it later on with another piece of fabric!
The following are the complete details to replicate the one I made, but remember you can adjust and make it your own.
The materials & tools:
1. BUILD THE FRAME
Well, good thing. It was the perfect fit for the wall in the office. But, what I like the most about this project is that you can update it later on with another piece of fabric!
The following are the complete details to replicate the one I made, but remember you can adjust and make it your own.
The materials & tools:
- 1 yard of fabric - 60" width
- 1 x 2 pine material: 18' (2 pieces 56" long and 3 pieces 33" long)
- 7/16 x 1-5/8 pine material: 16' (2 pieces 567/8" long and 2 pieces 34½")
- 12- 2" wood screws
- Scissors
- Saw
- Drill
- Stapler
- Nailer
1. BUILD THE FRAME
Do pre-drills before driving the 2" screws to prevent the wood from splitting.
You can use pocket hole joinery. Most of the time I do use pocket holes, but this time I had my drill at hand so I went with it.
2. ADD THE FABRIC
You can use pocket hole joinery. Most of the time I do use pocket holes, but this time I had my drill at hand so I went with it.
2. ADD THE FABRIC
Place your piece of fabric face down on a large surface or floor. Bring the frame on top.
Center the design and drive one staple on the center of each side, pulling the fabric taut while you add the staples.
Pull the frame up and check that the design is centered.
If so, continue driving staples, pulling the fabric nicely in place. One staple on one side then go to the opposite side.
Note: I didn't drive too many staples because my plan is to change the fabric later on when I get tired of this design.
Trim those corners.
This is how the frame looked at this point. You can stop here if your fabric is long enough to go around to the back of the frame.
3. ADD A DECORATIVE FRAME - (Optional)
Center the design and drive one staple on the center of each side, pulling the fabric taut while you add the staples.
Pull the frame up and check that the design is centered.
If so, continue driving staples, pulling the fabric nicely in place. One staple on one side then go to the opposite side.
Note: I didn't drive too many staples because my plan is to change the fabric later on when I get tired of this design.
 |
| | Stapler | |
This is how the frame looked at this point. You can stop here if your fabric is long enough to go around to the back of the frame.
3. ADD A DECORATIVE FRAME - (Optional)
I went ahead an added an extra frame to give it more definition. Those wooden pieces are half inch thick.
They were cut to size and attached to the main frame with brad nails. The long pieces were attached with only three nails, the shorter one with only two nails. The reason was the same, easy way to disassemble it to change the fabric later on.
Note: I think you can substitute the brad nails for hot glue. This frame is mostly for visual appeal.
And this is how it looks with the added frame. I love it! 💙
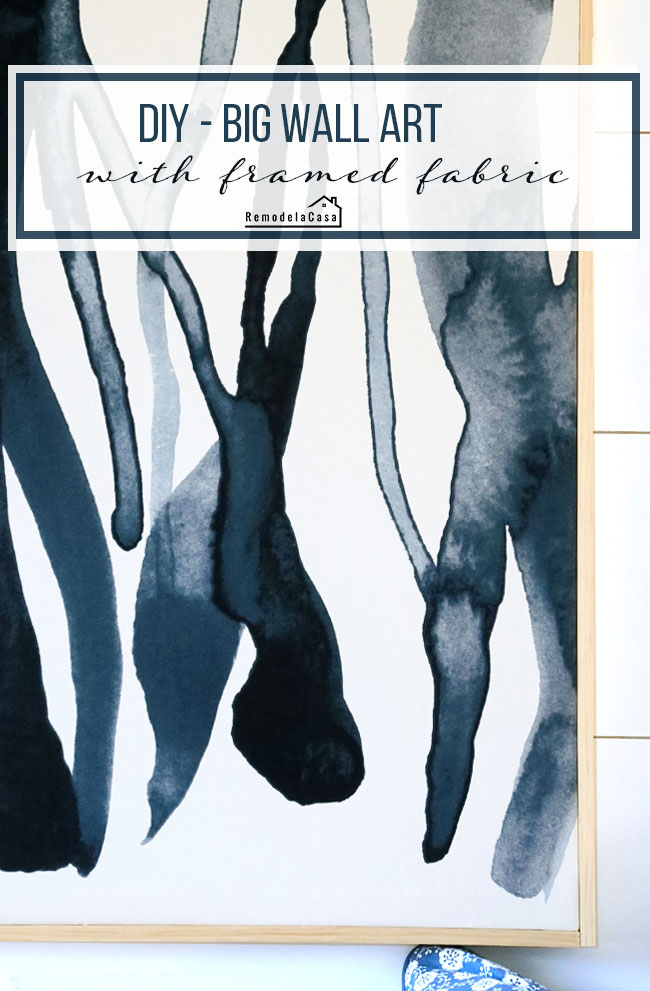
The description of this fabric on the Ikea web site:
"The harmonious pattern on this fabric resembles a stormy sea with sunshine reflecting on the water’s surface."
I used it on the vertical, no waves for me, it kinda makes me think of roots ready to sprout out this Spring. :D
For more home decor DIY ideas check these out:
 |
| | Table | Build-ins | Ceiling | Rug | |
"The harmonious pattern on this fabric resembles a stormy sea with sunshine reflecting on the water’s surface."
I used it on the vertical, no waves for me, it kinda makes me think of roots ready to sprout out this Spring. :D
For more home decor DIY ideas check these out:


That looks so good! Always amazed at the ideas you come up with.
ReplyDeleteThanks so much Kim! Trying to keep the decor budget friendly. ;)
DeleteHey, when I got the other print, the Graciela Rodo-Boulanger - Tour de France. I knew I've seen something similar in blog land, but couldn't remember until Stacey mentioned in the comments. We all love your style. :)
Thanks for stopping by.
This looks amazing!! So eye-catching and fills the space perfectly! XO
ReplyDeleteThanks Christy! One good thing about do-it-yourself projects, made to fit our spaces. ;)
DeleteHave a great week my friend!
Well, how cool is that!!!!!! It reminds me of winter barren trees! Have a great and creative week- xo Diana
ReplyDeleteHa, true Diana, just branches. Wishing you an awesome week too.
DeleteLove the large scale and simple pattern. Beautiful!
ReplyDeleteThanks so much Deb! A simple way to get a big scale print for us, the not so gifted with a paint brush. 😊
DeleteSo great! It looks very custom and expensive. Thanks fo the tutorial... very inspiring.
ReplyDeleteIt's gorgeous. I love fabric like these. I have one on my wall and it's beautiful.
ReplyDeleteLove, love, love that fabric. It is so perfect for the scale of the piece. GREAT color, too! Just totally fabulous. ~~ Susie from The Chelsea Project
ReplyDeleteThis is very pretty and it looks very expensive.
ReplyDelete