

Finding the perfect piece of art for your walls can be a challenge. Getting the right picture with the room's perfect colors and size is not always easy.
I was in the beginning stages of the bathroom renovation when I found the perfect print which I wanted to highlight in the bathroom. With their rustic charm, these vintage-looking landscape canvases were precisely what I was looking for. These prints are the new modern take on home decor.
I picked the print I liked the most for my room and saved it until the bathroom renovation was almost done and the decorating was about to start. However, when I tried it in the spot it would hang from, it was too big for the space.
I remember buying the smaller size, 16" x 24". Well, it wasn't small enough.
It was time to fix this problem!
*This post contains affiliate links for your convenience. Click here to read my full disclosure policy.
I found a thrifty gold picture frame that I hadn't used in years parked in our basement. It was the perfect size and style for the room.
Yikes! Look at the huge difference in sizes. What was I thinking?!

The idea was to cut out a small area of that huge print and put it into the gold frame.
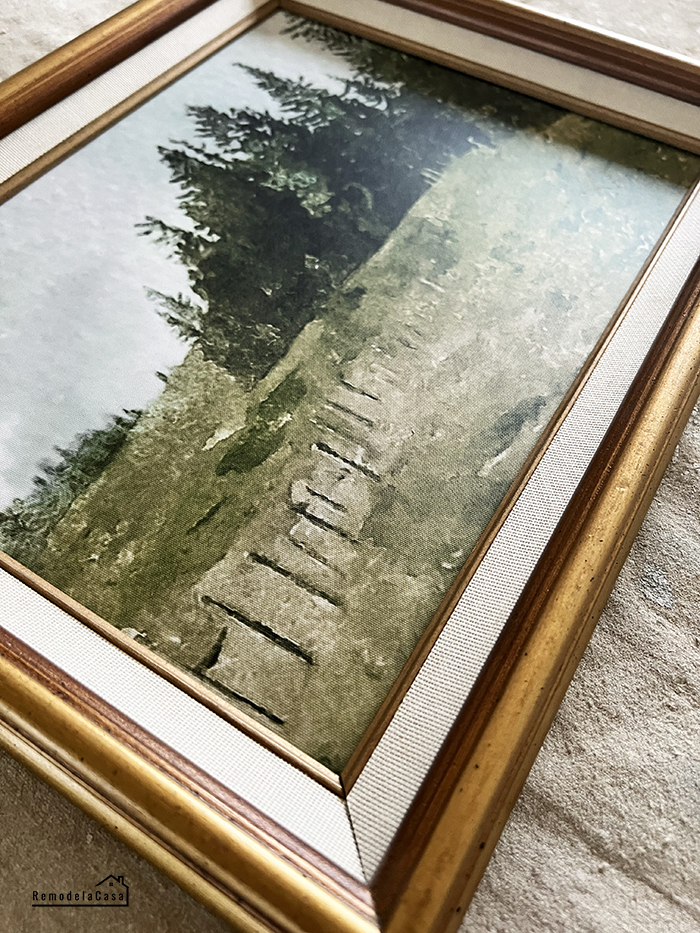
I flipped the canvas upside down and, using a utility knife, started scouring the print on the back.
My goodness, that process took some time. This material was rigid

I gave up on using the utility knife and instead focused on removing the frame. It was relatively easy to separate both surfaces as the frame isn't real wood. It's made of plastic that resembles wood and doesn't look bad.
The canvas is mounted onto cardboard, no wonder I had a hard time cutting it with the utility knife.

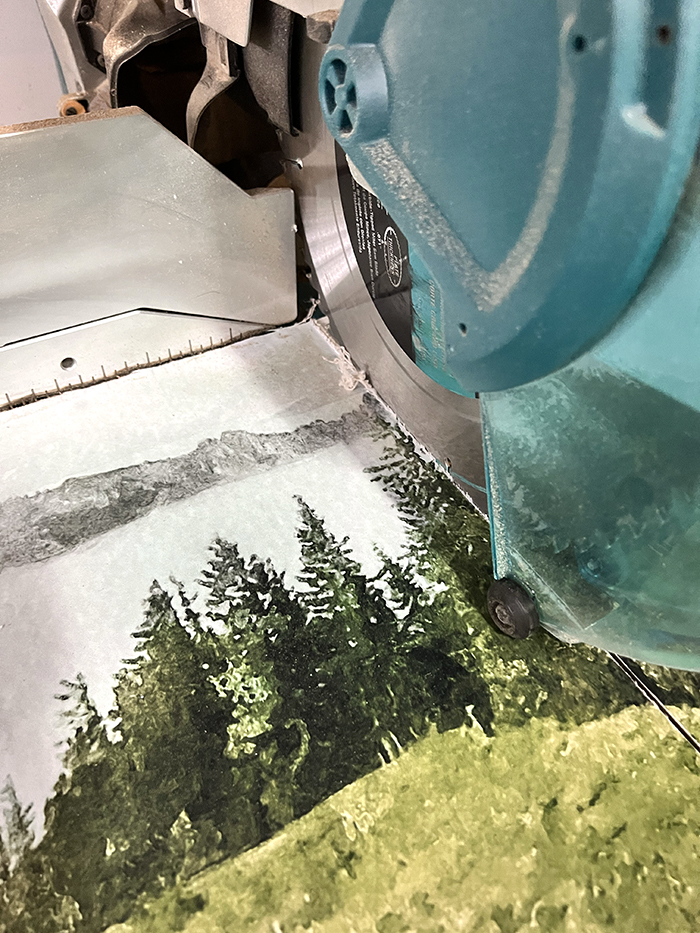
I used my miter saw to trim this picture. The initial cut was done lengthwise, removing some tall pine trees on the right. Who would have guessed I needed to bust this out for a print!
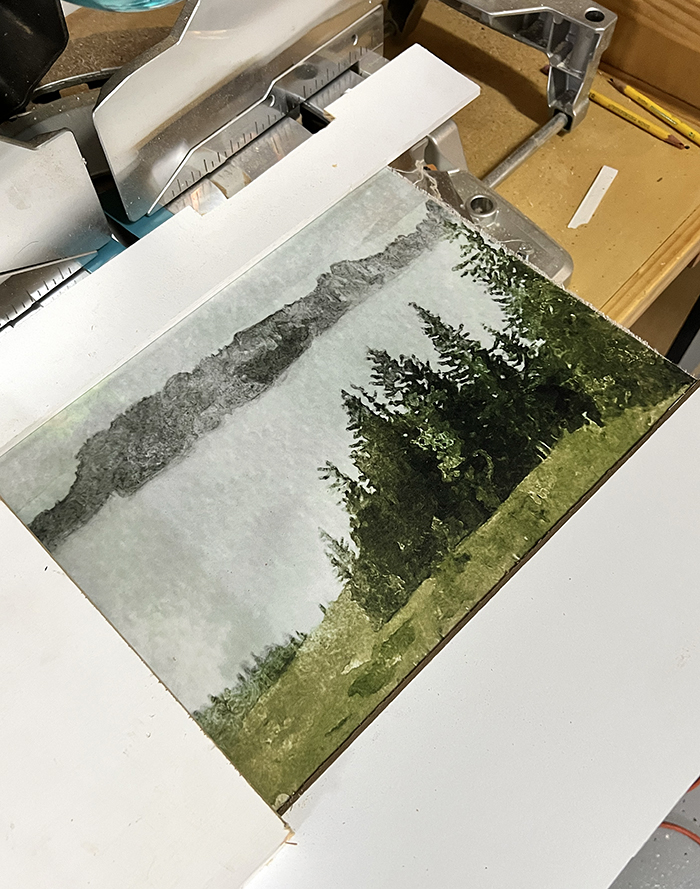
Bringing the wooden guides lower and removing the back mountains gave me a better-framed landscape.
I got rid of the transparent film on the gold frame; all I needed to do was add the canvas.

As you can see, it looks way better!


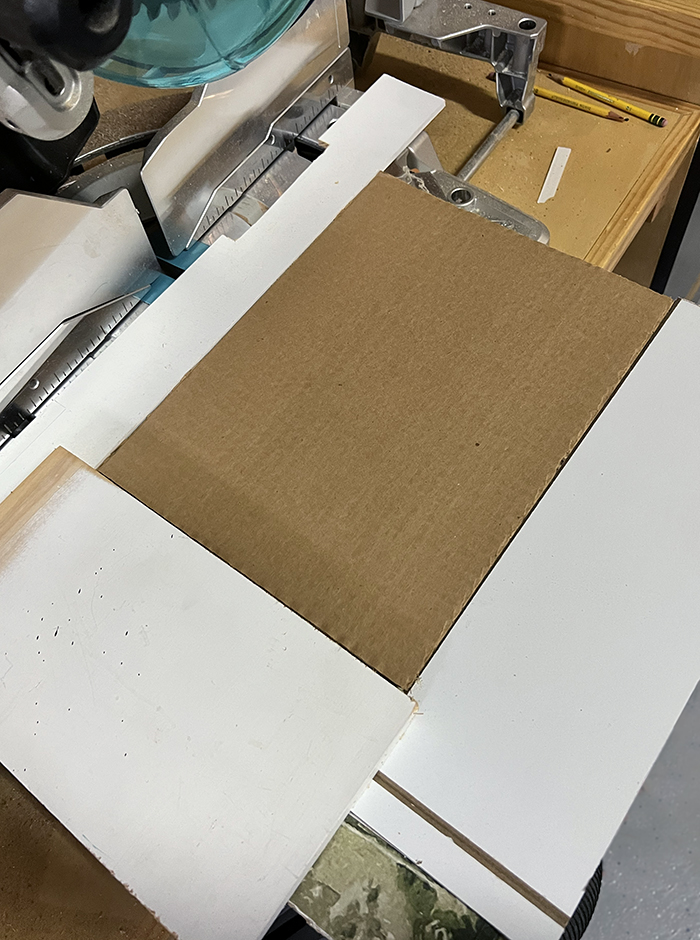
I had to pay attention to the picture for the remaining cuts. I brought the gold frame backing to serve as a guide for the cuts.

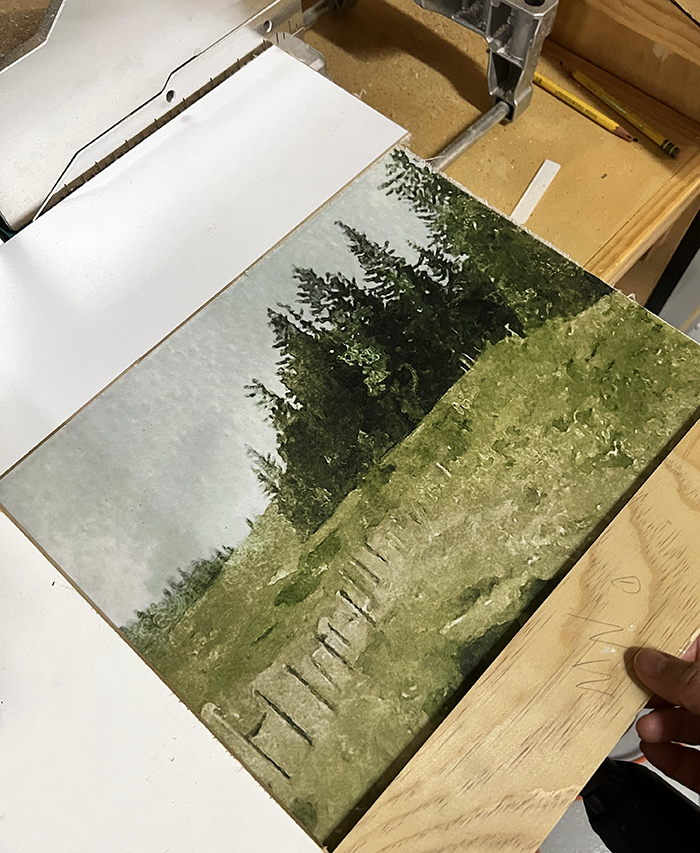
I used scrap pieces of wood to try and frame the view I wanted to end up with. The picture below shows the framing, including the mountain in the back. I didn't like this setup.


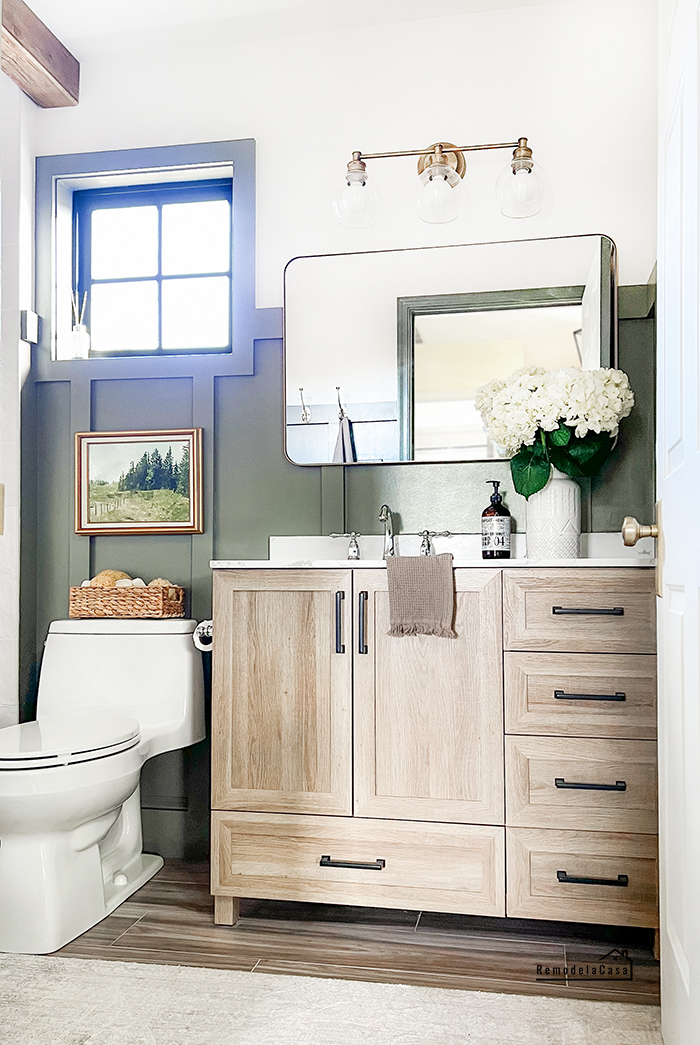
And here it is adorning the bathroom.

All the details about this bathroom makeover are HERE.
You can check all those vintage-looking canvas art pieces and many more HERE.
*This post contains affiliate links.

New comments are not allowed.