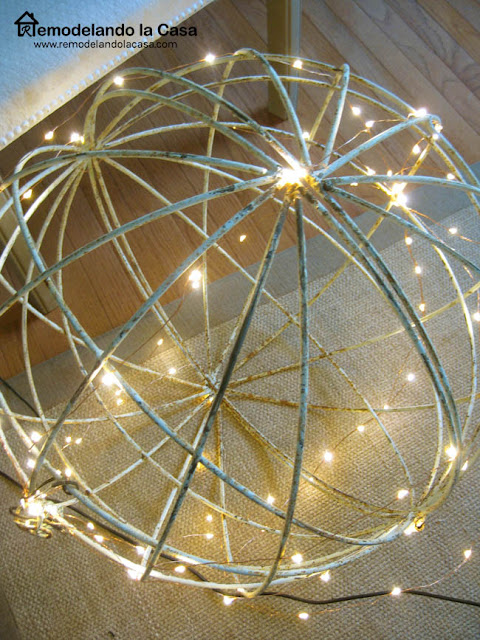
Updating our dining room chandelier wasn't even in the plans. But a good visit to a thrift store sent me home with the materials needed to create an incredible light that imparted new life in this room.
I've been busy working on the shelves in my son's room. I needed more planks and a closet door, so I went to a big thrift store with plenty of home materials.
Well, we didn't get the planks, but we found a cool door and a cute sphere, begging me to bring it home with me.
I knew what to do with it!
Yep, today's project was an easy one. 😉
It could be because I didn't do much of the work. I have to give a big thank you to Mr. RLC. He was the mastermind behind this project. ;)
When the dining room was spruced up about two years ago, the chandelier the builder left was replaced with this set of lights.
*This post contains affiliate links for your convenience. Click here to read my full disclosure policy.
This is a very inexpensive Ikea hack with wood veneer. I liked it, but it was damaged when I added white tape during Christmas one year. The veneer began to loosen when I tried to remove the tape.
Anyway, it was time to change it!
This past summer I even bought a big metal basket, thinking on turn it into a lighting fixture for this room. It never happened. The basket is still around the house, holding stuff.
As soon as I saw the sphere in the thrift store, I knew it would look good in the dining room.
They had many of these spheres, different sizes, and ones that open in the middle like the one I bought, and others that didn't open. The price I paid for it was $45, it's about 25" diam. The twinkling lights around the sphere were extra.
I began looking for a small chandelier to put inside the sphere. I didn't want to buy a new one, as the prices are usually much higher than I wanted. Besides, second-hand chandeliers are easy to find.
Two weeks ago, we found ours at the neighborhood flea market. The mister spotted it and surprised me with his find—only five dollars!
When I got home, I spray-painted it white; silver didn't complement the sphere very well.
Well, the white one, neither.
The metal sphere has a rusty patina that I wanted to preserve. As you can see, it also has light blue tones.
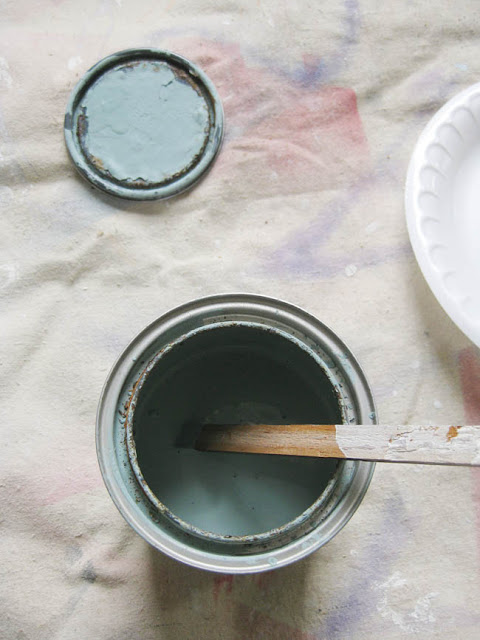
After the white spray paint dried, I brought the chandelier inside and gave it a coat of ASCP - Duck Egg Blue.
For the rusty feel, I sprinkled it with cinnamon.
Yep, you heard it right... Cinnamon!
A tip I got from a talented blogger when she used it on this project HERE.
It's not perfect, but it's good enough.
As soon as I finished the painting technique, I gave it to the mister, who worked his magic on the electrical part.
It's not perfect, but it's good enough.
As soon as I finished the painting technique, I gave it to the mister, who worked his magic on the electrical part.
You see that rusty wheel at the top of the chandelier? It was his idea. ;)
He left the same rusty screw that opens and closes the sphere.
This is a pic from the bottom up, with all that cinnamon rusty feel.
He left the same rusty screw that opens and closes the sphere.
Hey, it smells terrific. :)
And here you have it. One step up from the previous veneer light!
I'm decking the halls. I'll show you this room all dressed up for the holidays and sporting the new chandy soon!
HEY, not interested in upcycling??
You can buy a similar chandelier right HERE.
*This post contains affiliate links.


Love your ingenuity. It's fabulous!
ReplyDeleteLooks amazing ...your thriftiness is very inspiring! xx
ReplyDeletethis is brilliant. you are so talented and creative.
ReplyDeleteUn case me hubiera ocurrido hacerlo en una lámpara !! Es una tremenda idea
ReplyDeleteI love the name sphere chandelier! I like what you've done with it. loe those sphere's
ReplyDeletePatty funfamliving.com
How did I miss this? Your talents never cease to amaze me!
ReplyDeleteLove it! The chandelier looks modern and vintage at the same time. It'll fit great in my dining room.
ReplyDeleteLove it Cristina! And cinnamon, I never would have thought of that!
ReplyDeleteI love it! I have been on the lookout for a sphere, but haven't found any this size. Cinnamon- what a great tip!
ReplyDeleteJust found you this evening...WOW...love the chandelier you made...and your cost! What creativity and resourcefulness you have. I just subscribed and am looking forward to your future posts. BRAVO!
ReplyDeleteThanks so much for your kind words and for subscribing, Janie! I just published the latest makeover done to this room. I was thinking on changing this light fixture, but in the end it worked kind of nicely. You might want to check that post right here: https://goo.gl/sFsYKB
Delete