


I've been drooling all over small wooden stools.
I think they're so cute!
I like them even better if they're all beaten up or show the passing of time.
Last year I kept an open eye for these little stools. Each time I visited the neighborhood flea market or thrift stores, I kept on looking but nope.
There weren't there. :(
Well, the only one I scored was this:

For only three dollars, it was OK, the loosen leg was tightened, and after using it for a few months and getting tired of the drab material it was covered with, I decided to give it a make over. This is how it looked for Christmas.

Since I'm now working on my son's room, I thought about bringing one stool to his room to serve dual purpose. He can use it to reach to the top shelves in his closet and also to sit down while he takes off or put on his shoes.
Well, this small stool was not cutting it. Besides, I wouldn't want him stepping on it.
I began my search once more without much luck.
The ones I found were usually too small or bigger than what I wanted.
Then, I found the one that was the closest to the size I was looking for, but the price kept me away from it, fifty bucks.
The thought of having LOTS of material in my garage to build a simple stool for free kept me away!
And I'm so glad I didn't buy it. I built my own in less than an hour using remnants of wood from other projects.
So, here I'm putting together a tutorial for you to create your own, like the one below. This is a perfect beginners project.

The materials and tools you'll need:
- For the top (1) ---> 1" x 10.5" x 19.5"
- For each leg (2) ---> 1" x 9.5" x 13.5"
- For the support (1) ---> 1" x 2" x 15"
- Kreg Jig
- 1¼" Kreg screws
- Jig saw
- Measuring tape
- Sander
- Drill
- Compass
- Ruler
- Pencil
- Wood glue
- Paint or favorite finish
Directions:
Having all the wooden parts ready, you can begin drawing the cut out on each leg.
Do a 4" mark from the bottom/up of each leg, right in the middle (wide-wise), that's going to be the top center of the circle.
I used a bowl to draw the circle, you can use a compass. The diameter of my bowl/circle is 5.5". The circle was drawn mid way and then extended to the lower edge with a ruler in order to continue a straight line.

Draw the round corners for the top board.

It's now time to cut the design on each leg and round those corners using a jig saw or BladeRunner X2.

As I said before, I used pieces from my scrap pile. For the legs I used pieces left from the built-ins in my son's room. At that time I was thinking on dividing each shelf with these pieces, but then I changed my mind. That's why the pocket holes were done on both sides of these boards. Obviously you don't need pocket holes on the lower end of the legs. ;)

But, you need to do three holes on the top part, and sand all the pieces thoroughly.

Using wood glue and 1¼" screws attach each of the legs to the underside of the top board.

Finally, attach the 1 x 2 center support using wood glue and 1¼" screws.
I also covered all those pocket holes with wood filler.

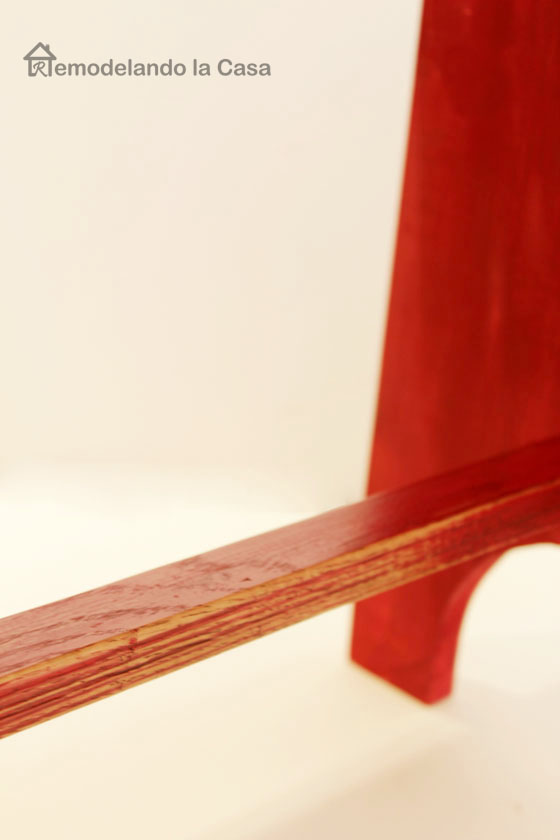
Below is how it looked right after finishing the building part and with one coat of ASCP - Emperor's Silk.

After two coats and some distressing this is how it looked:

Then, AS clear wax was used, followed by dark wax, buffing very well in between coats.

This is how it looks now.

I sanded heavily those edges and parts that are supposed to get most use.


Well, there you have! I hope you can give it a try. It is indeed, very simple.
And hey, today I'm super happy :) because I'm over at Lil' Luna as part of its 2016 contributor team sharing a super cute Valentine's Day project! Did I say I'm happy?!
Hope to see you over there!

You did a wonderful job on the step stool!
ReplyDeleteThis is so cute. I'm going to try and give it a whirl as soon as basketball season is over.
ReplyDeleteThis is so cute. I'm going to try and give it a whirl as soon as basketball season is over.
ReplyDeleteAdorable!!
ReplyDeleteThis stool will look fantastic in my clean and tidy bedroom! I will definitely try this at home!
ReplyDeleteGuauuu que gran uso de esa aquieta , eres una gran carpintera , es muy interesante visitar tu blog ,, siempre traigo buenas ideas que me inspiran
ReplyDelete