A kitchen island is a great way to add extra counter space, storage, and seating to your kitchen. It can also be the focal point of the room. If your kitchen island looks tired or dated, you can give it a modern makeover with a pole wrap install.
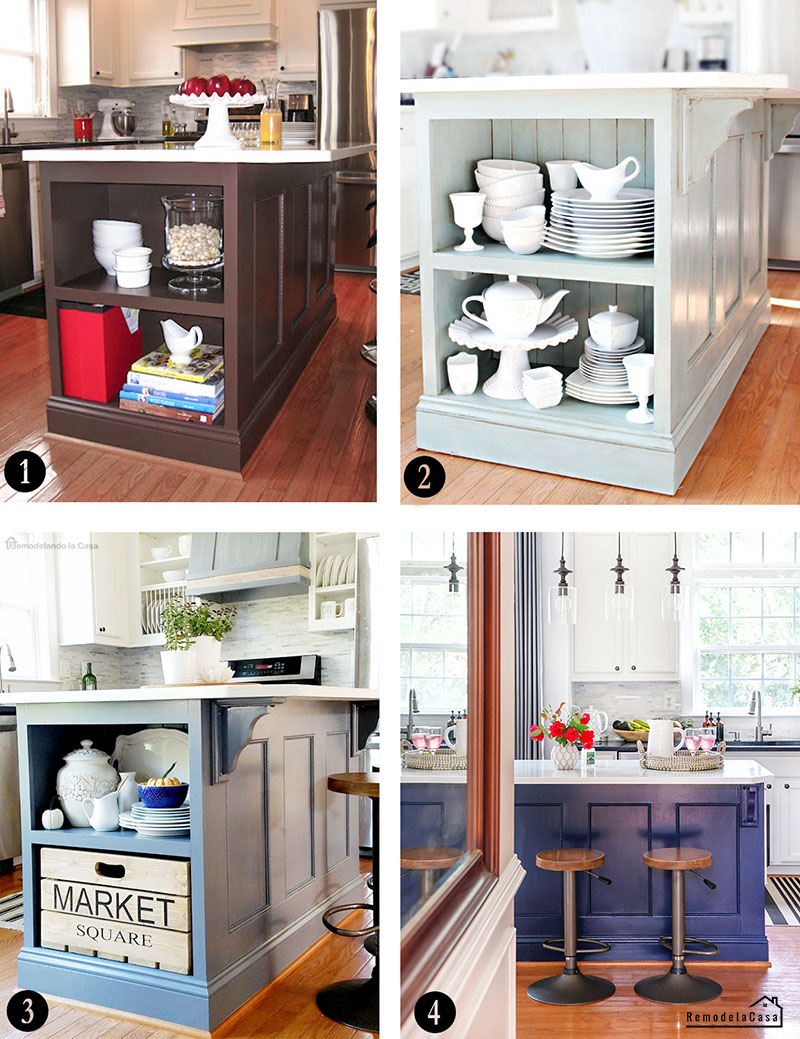
This ugly duckling of a kitchen island (see picture below) was the builder's choice to elevate our kitchen in the 2000s.
I know, sad.
*This post contains affiliate links for your convenience. Click here to read my full disclosure policy.
The island stayed the same for quite some time, but then it underwent transformation after transformation.
The first makeover included a side shelf and a microwave installed on each end. It was also painted chocolate brown.
Farmhouse Style came by, and the island was painted a beautiful light blue to brighten up the kitchen. Corbels and beadboard on the back of the shelves were also added.
Then it was painted gray and, finally, blue.
| 1. Brown | 2. Duck-Egg Blue | 3. Gray | 4. Blue |
All those paint transformations were simple ways to update the entire kitchen and give it a new look. That's why I was, yet again, ready for another kitchen island makeover!
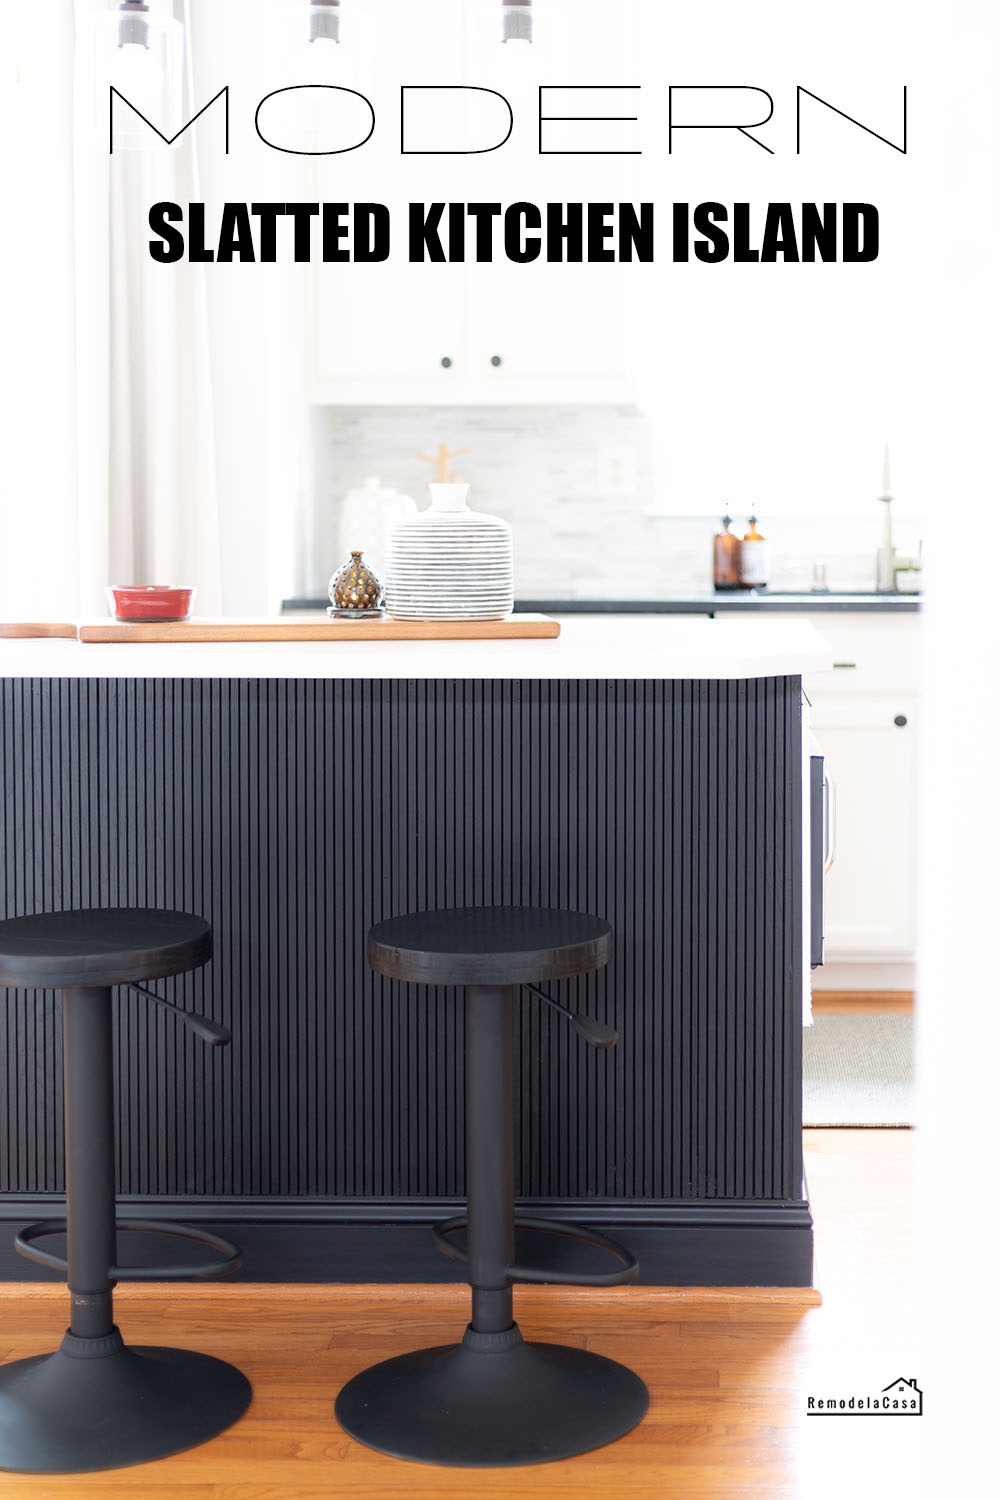
This time, I went for a modern look, adding pole wrap to give it texture and a streamlined appearance.
SUPPLIES
LET'S GIVE THIS KITCHEN ISLAND A MODERN TAKE!
1. DEMO
The first task is to remove all the unnecessary items on the island where we want to add the pole wrap.
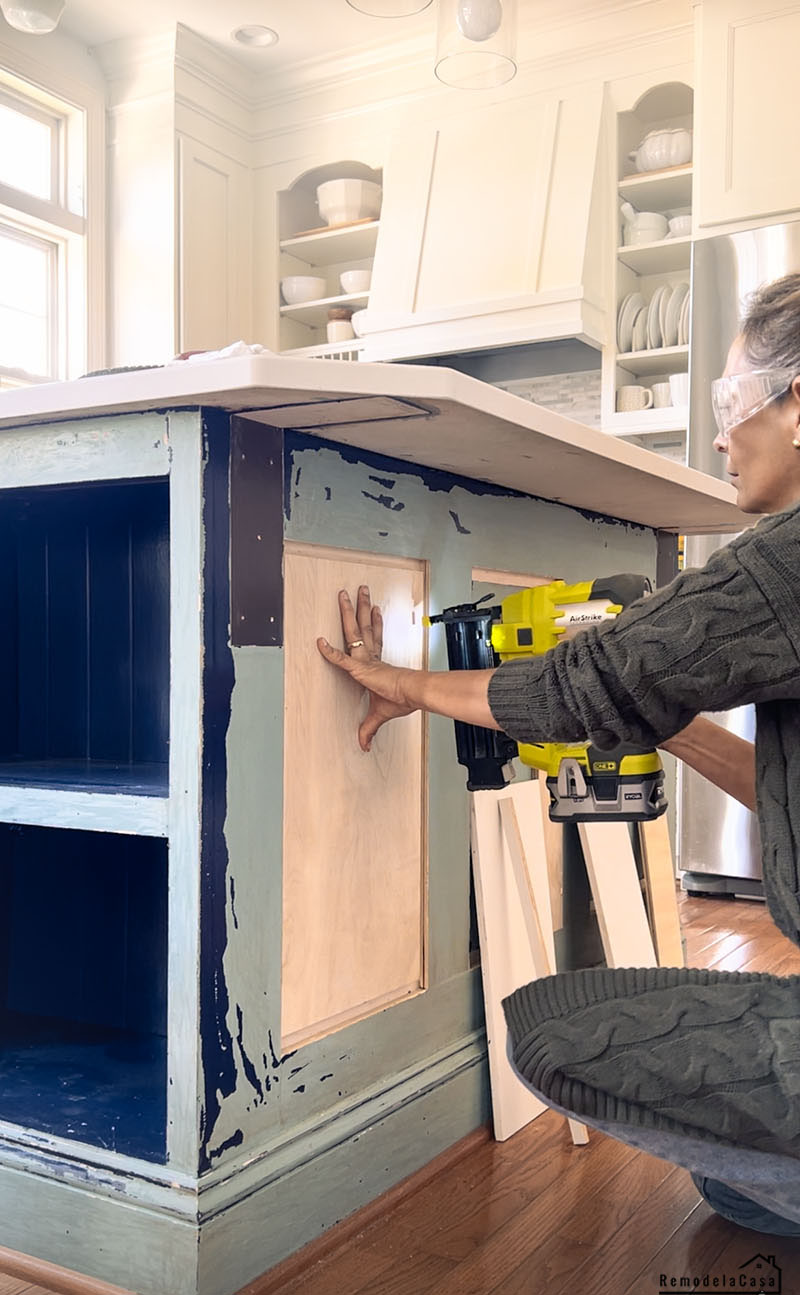
In my case, I removed the corbels and the small molding around the center panels. At that point, I could see all the colors the kitchen island had sported.
2. BUILD IT UP
You need a flat surface to mount the pole wrap. Those recessed areas in the kitchen island had to be leveled to be flush with the surrounding surfaces.
Leftover pieces of plywood were nailed to level up that area. It doesn't need to be a perfect fit—after all, the pole wrap will cover it.
| RYOBI Nailer |
3. TRIM IT
Given that I only wanted to add the pole wrap to the front of the island, I installed wooden trim pieces at both ends to provide more structure.
The trim is 1/2-inch x 3/4-inch pine. It was also nailed in place.
You should use corner moldings to install the pole wrap around the island.
| Pine Molding |
3. PREPARE AND INSTALL THE POLE WRAP
You can cut the pole wrap lengthwise with a simple utility knife, all along one of the grooves. Cutting the pole wrap across can be done with a pair of scissors, but you'll end up with rough edges.
I used the miter saw to trim the pole wrap to size, and I loved that I could fold it in place to go across it in one single pass.
Fill the nail holes with wood filler and prepare the surfaces for paint/stain.
Remember the gallery wall in that passage coming from the foyer?
I also installed the pole wrap with my Ryobi nailer and one-inch brad nails. Having plenty of plywood where to nail it was a plus.
If the island's outer surface is only a thin layer of 1/4" plywood, you might need to use liquid nails.
I also installed the pole wrap on the other side of the island shelf and on the back of the shelves.
4. CAULK, PRIME, AND PAINT
I ran a bead of caulk at the top against the countertop, but forgot to use painter's tape for a cleaner application.
You must work on fixing that problem one groove at a time. It's the same for painting it.
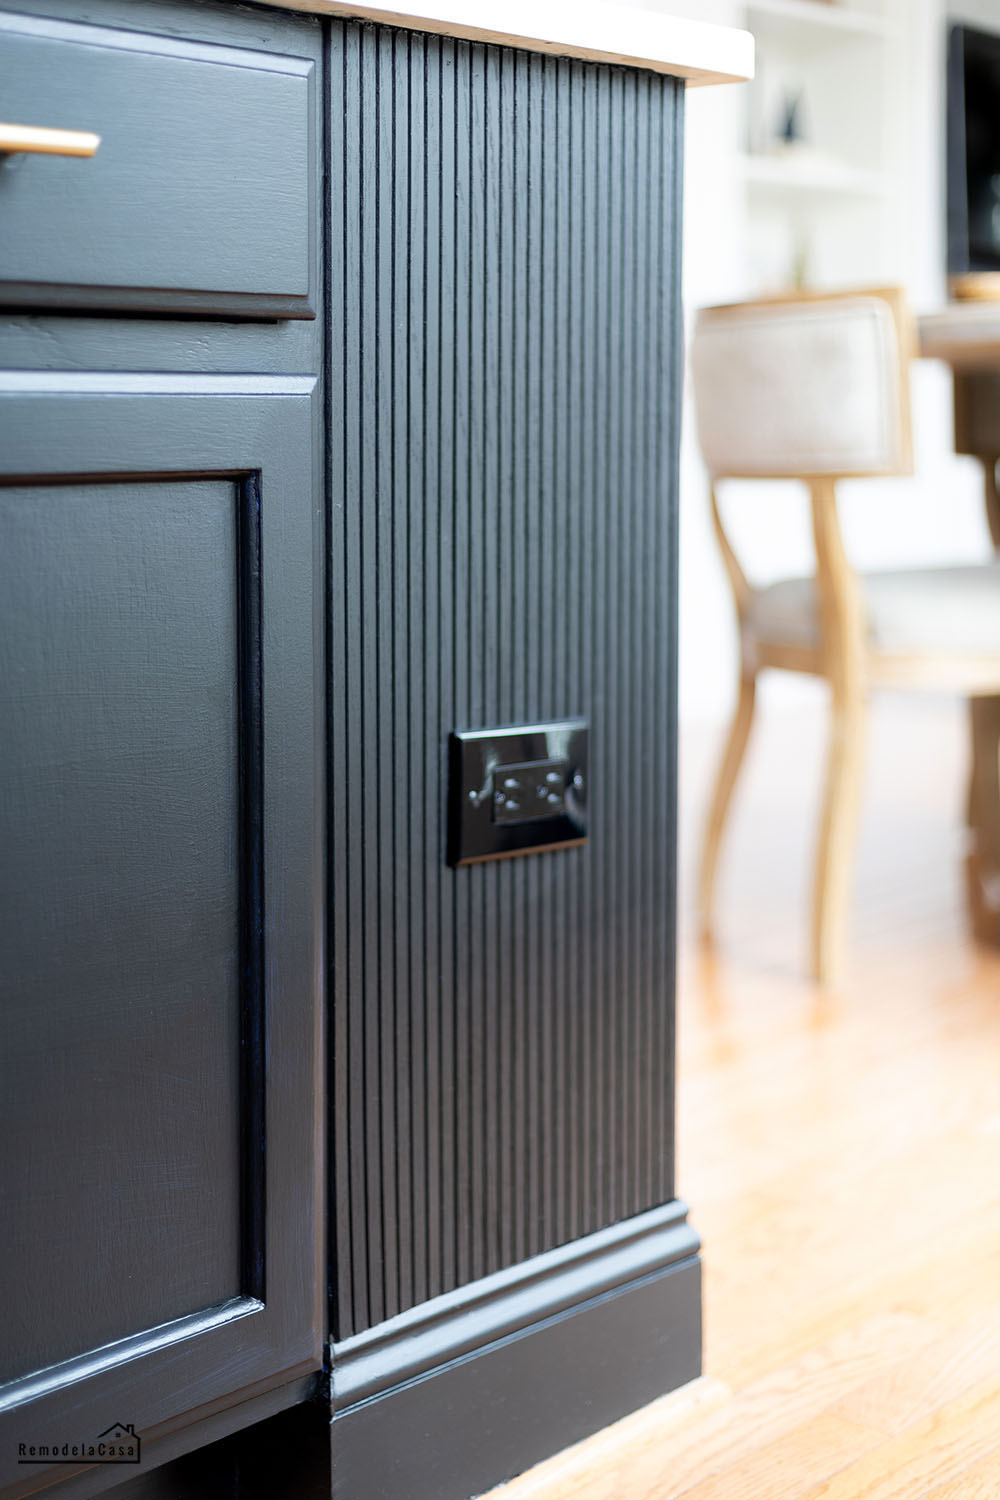
I first used a tinted primer on the entire kitchen island. Then, I gave it two coats of SW- Tricorn Black in a semi-gloss finish.
I opted for the natural pole wrap on the back of the shelf pieces.
Mr. RLC helped install the new black outlet. He had to add a 1/4" box extension ring to bring it out flat with the pole wrap.
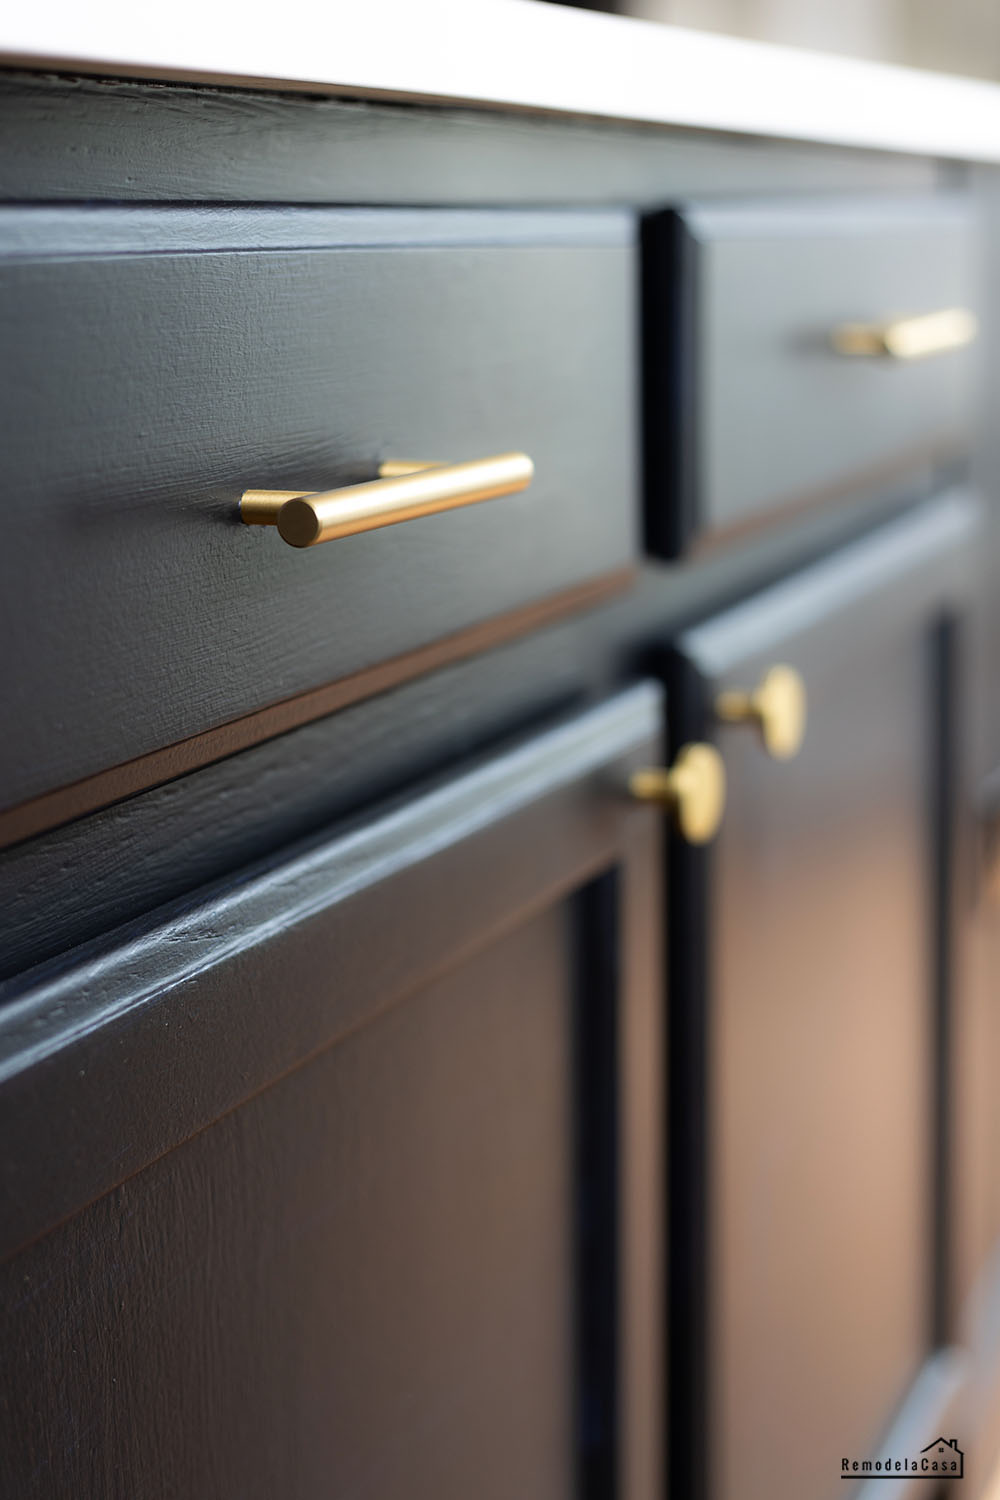
Oh, I also gave the drawers and doors brand-new hardware.
| Cabinet Pulls | Cabinet Knobs |
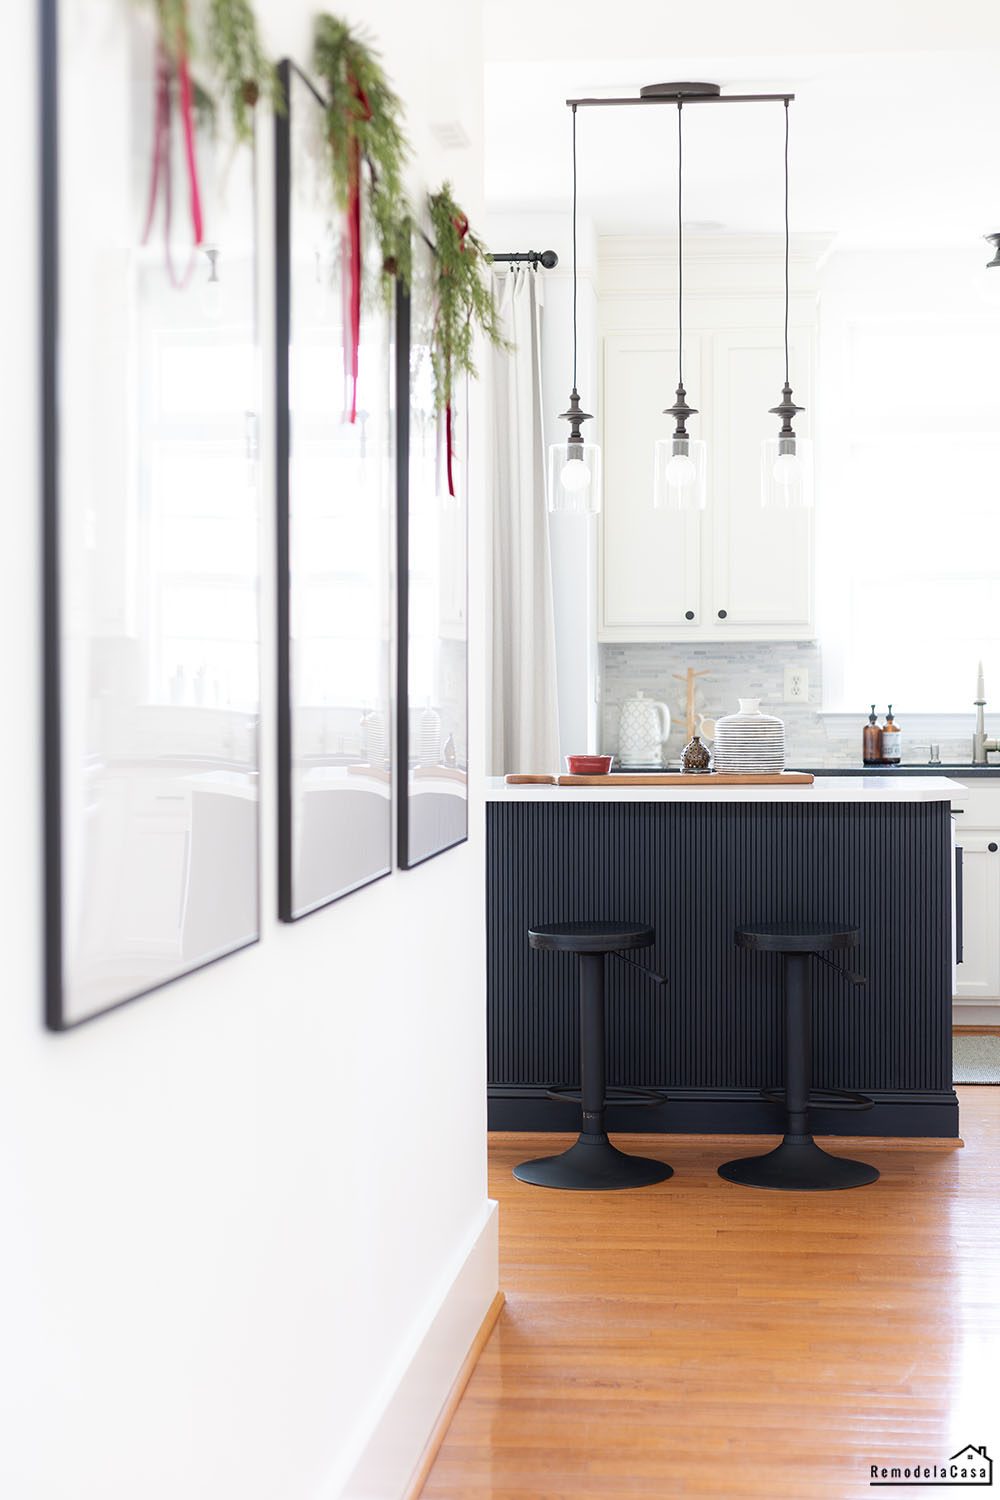
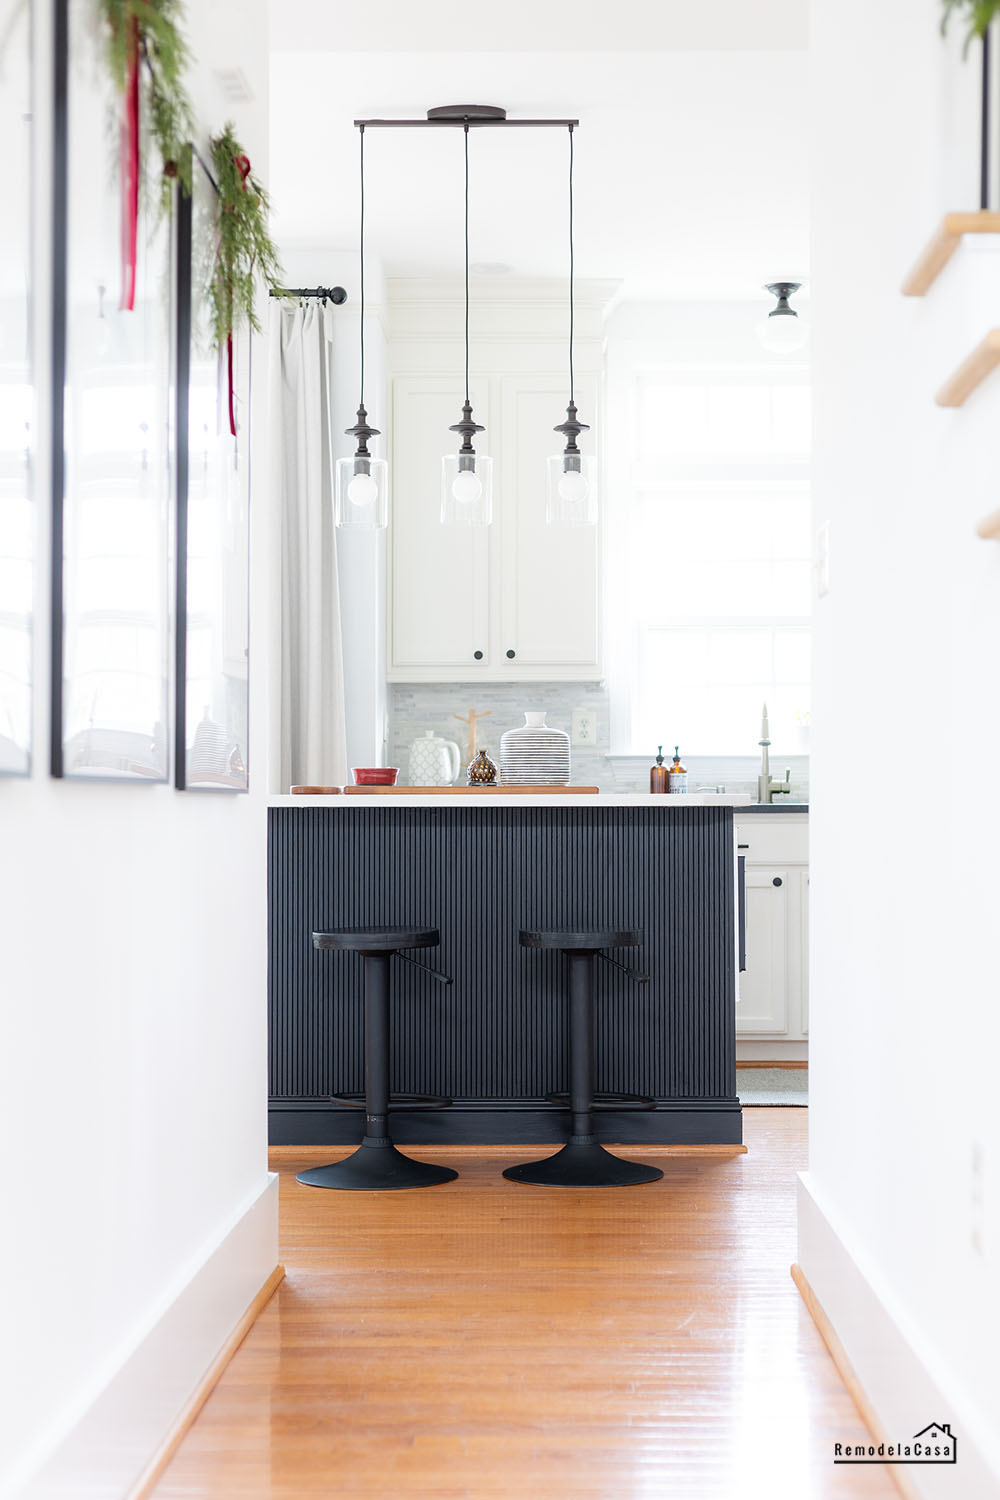
I love how it frames the view of this new and improved kitchen island!
If I pay close attention, I can tell where the divisions on the pole wrap are. But that's only here in the pictures because, in real life, it's hardly noticeable.
And yes, those barstools also got two coats of black paint.
The same Tricorn black paint was used on the seat and black spray paint on the base, followed by two coats of clear matte poly.
Without a doubt, this is the easiest makeover this kitchen island has gone through. :D
Should I change that ceiling fixture? 🤔
Thanks so much for stopping by!
🖤






Love this island makeover! Beautiful color
ReplyDeleteThanks Lilly! Oh, I've been painting everything black, Loving it. ☺️
DeleteDon't change island light, it looks great.
ReplyDeleteGot it, Maureen. Thanks! 👍🏼
DeleteEvery time you change your Island or anything else for that matter I wonder, " how can she possibly make it better than it was?" Sure enough you always succeed!! Beautiful!
ReplyDelete❤️❤️❤️
DeleteI agree! How can she make it better? But you do! I love the lights! Don’t change them!
ReplyDeleteAww stop it! You girls are the best. Thanks!
Delete