

Water, water, water! Who doesn't need water? Who doesn't love water? Water is life that's for sure, but when water gets in our way, and not in a right way, its simply annoying!
Water came into my bedroom, at first it was a little spot on the ceiling, I did nothing.
Then, after heavy rains, some more water stains appeared on the ceiling. I tried to cover them with paint. Big mistake!

After some months went by and to make matters worse, some of the Sheetrock tape started to get loose. Well, it was time to fix the problem.
The first thing we did was to call a roofing company to fix the roof leaks.

All the water hurricane Sandy brought to the area was a good way to prove that the leaks were repaired, so it was time to fix the problems the water created on the ceiling.
I fixed the loose tape by simply pulling off the damaged piece, sanding the rough area, applying a thin coat of joint compound and placing a new piece of Sheetrock tape over it, then more joint compound was applied to even out the area. Sanding after it dried and applying more compound in areas that had sunken and sanding again. It was similar to what was done to cover the pop nail holes HERE.

This is what I was left with: STAINS.

I used Kilz Max, a water-base primer, sealer and stain blocker.
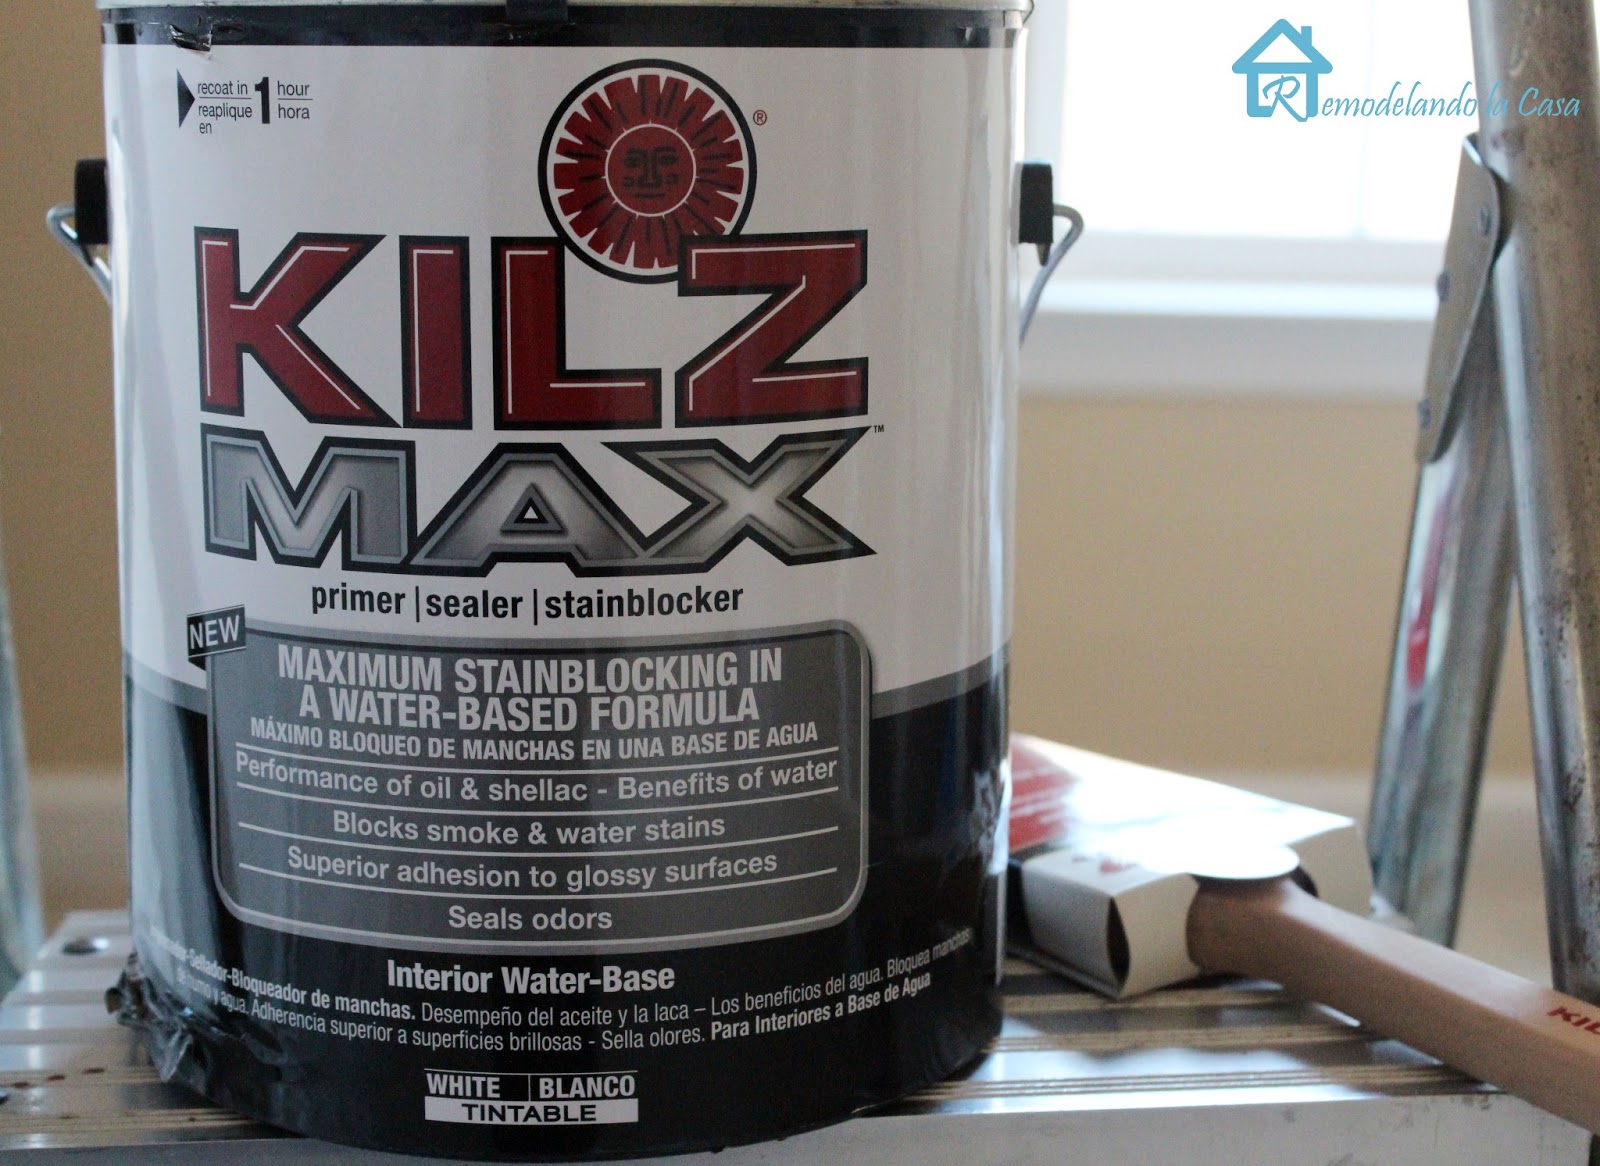
And began applying it to the entire ceiling, it has some odor that stays in the room for a couple of hours, Opening the windows helped. Eye protection is recommended. I used my clear safety glasses and of course a hat.

I was happy to get rid of those ugly stains!

When the first coat of Kilz Max dried (within an hour), most of the ceiling looked quite perfect, except for the toughest stain the ceiling had, it looked like this:

I waited two hours to apply a new coat to that specific spot. This is how it looked after two coats:

A very faded mark was still there, but I left it like that because paint was still needed.
A coat of Kilz Max was also applied to a deep color stripe I had painted before on the wall . This is how the room looked at the end of the day:

The next day I applied Kilz Stainblocking Ceiling Paint.
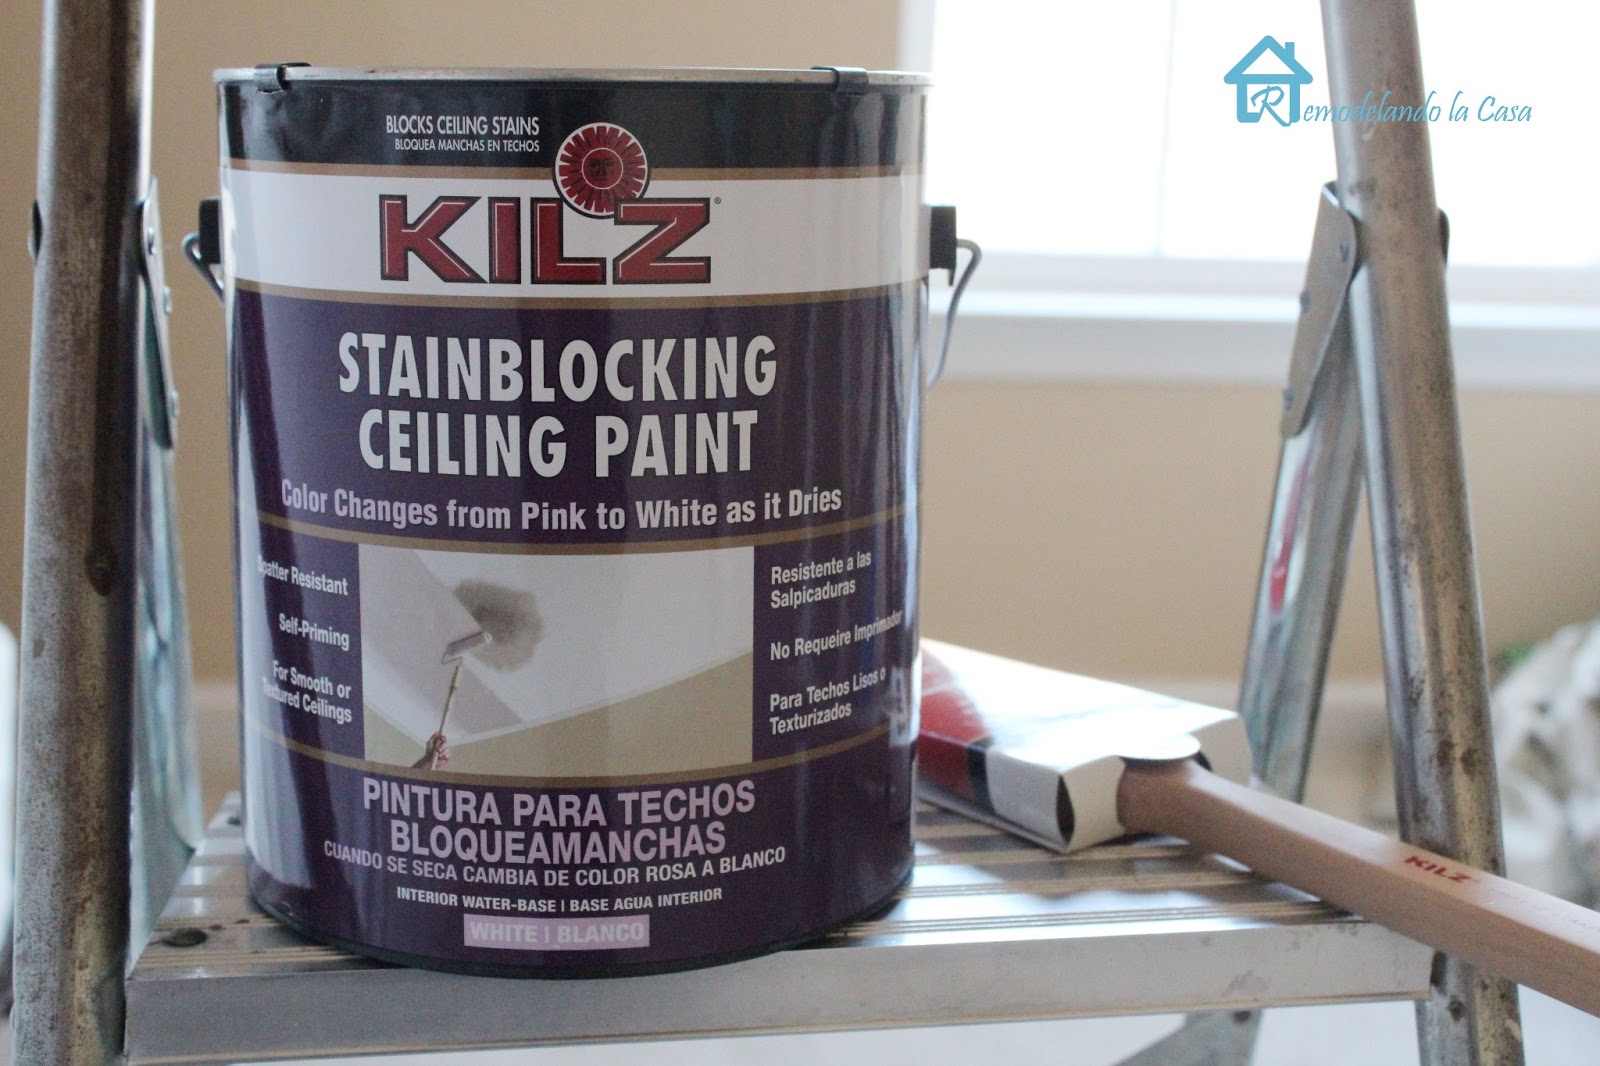
Once again I put on my painting uniform and went rolling and rolling! I loved that this time there was no splattering, the odor was minimum and the fact that the paint changes its color made it fun.
It is hard to see from the pictures, but its pink!
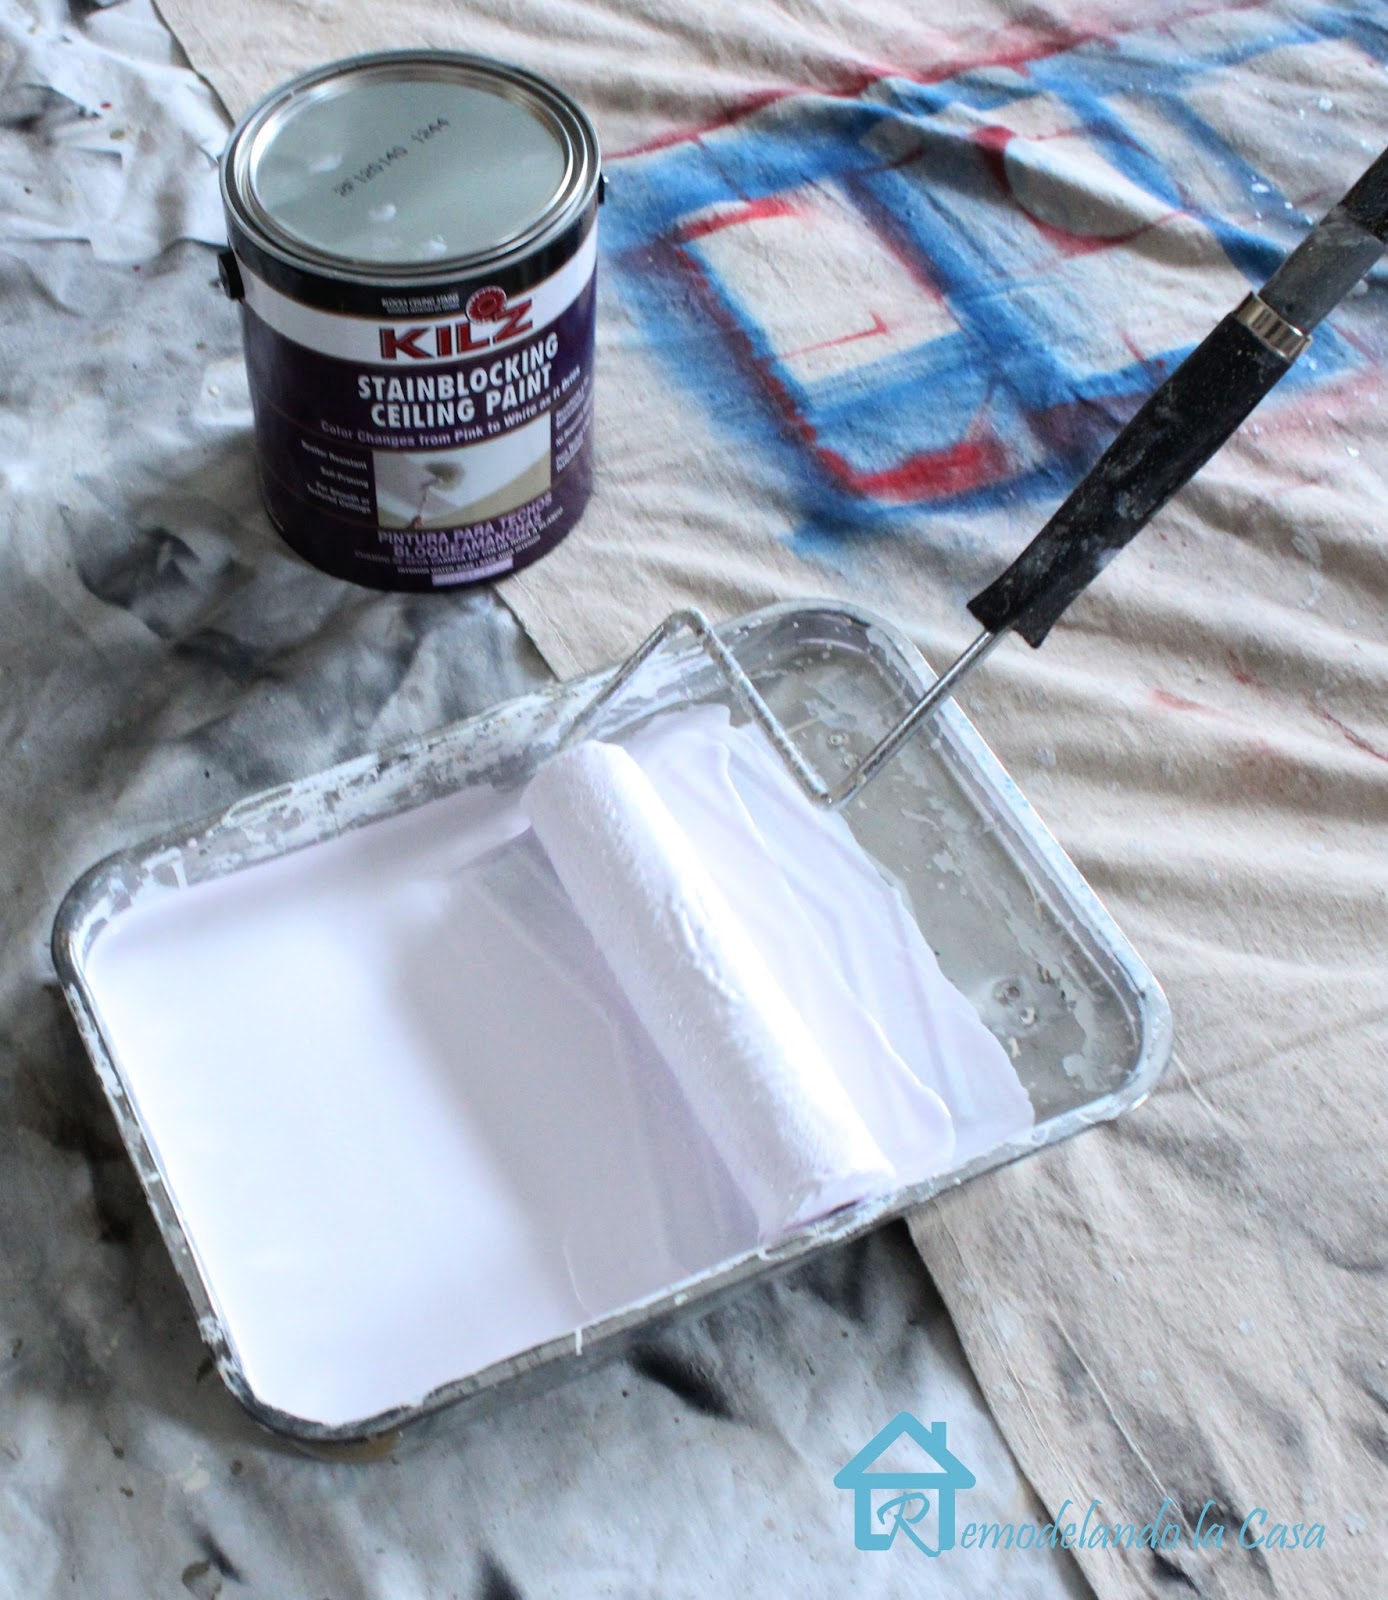
Its easy to see where you have painted, it turns white after it dries.

One coat and my ceiling looks FABULOUS! Bye, bye stains.

Disclaimer: Kilz Max and Kilz Stainblocking Ceiling Paint products were sent to me to try out. I have used Kilz products before and I liked how they performed. All the opinions expressed in this post are mine, I was not compensated or swayed to write favorable things about these products.


I love Kilz! Your ceiling looks great. :)
ReplyDeleteGood job! That looks like a big job.
ReplyDeleteGreat job! You are very brave. Congratulations!
ReplyDeleteMarina
Cristina . Yo no conocía ese producto , te contare que yo viví añossssss con una filtración en mi casa antigua no sabes lo que sufrí . Siempre la arreglé por el techo y pregunte muchas veces acá en Chile sí existía un producto para echarle directamente en el cielo y no encontré nada . .. Yo trabajo en el área de la Ingeniería y se supone que estamos a la vanguardia . Pero me doy cuenta que todavía estamos muy atrasados. ,,,,todo por acá llega después ... Bueno lo bueno que ahora existe Internet y todo se puede encargar,,, muy buen post
ReplyDeleteCariños
That would have been so frustrating to deal with! Water damage is no fun. Looks like it was a lot of work to fix the ceiling, but it looks amazing! Like the damage never even happened. Great job!
ReplyDeletelike new...and probably much better than before anyway :)
ReplyDeleteHola!! no tenemos de ese producto por aqui, pero luego de ver las imágenes, entiendo que ha quedado muy bien, súper bien! que bueno poder resolver!, Felicitaciones por el trabajo :) Cariños desde BS As Argentina,
ReplyDeleteVictoria
OMG, Christina, I don't sease to surprise myself at your skills at everything, even painting the ceiling!! Let me tell you..it's coming out great, and I can't wait to see how it turnes up! Que mujer mas habil que ers, preciosa! Happy weekend.
ReplyDeleteFABBY
This is really helpful, Christina. It is no fun to paint a ceiling, but yours certainly looks fabulous, and now stain free--well done, and I'm pinning this!
ReplyDeleteYou did a great job, Cristina! Very impressive. Thanks so much for stopping by and leaving me a sweet comment on the Oatmeal Chocolate Chip Cookies. Hope you have a wonderful weekend!
ReplyDeleteBlessings,
Nici
I have use Kilz products many, many times and I am always thrilled with the results. They make a great product-xo Diana
ReplyDeleteKilz is my go-to primer! I love the coverage and it truly works!
ReplyDeleteblessings,
karianne
You did a great job!
ReplyDeleteThank you for sharing it at SHOW-licious Craft Showcase! :)
http://sew-licious.blogspot.com/2013/01/saturday-show-licious-craft-showcase-14.html
Happy New Year!
Marti
Cristina, you are amazing! Great work on the ceiling, it looks perfect! Water stains are no fun, but Kilz is awesome. Thanks for showing us how you did it. Lots of work, but so worth it, right? Can't wait to see what the room looks like when you're all done. I'm sure you'll blow us all away, as per your usual! Have a great day.
ReplyDeleteDebbie
I love that you are not afraid to tackle anything! I'm always happy to see your post in my inbox because I know you'll be sharing something
ReplyDeletegood:)
DH should have read this before he started our ceiling repair project! Well, at least we know what products will work once we put things back together :) I'd love for you to share this at Pin Inspiration http://www.addhousewife.com/2013/01/its-pininspiration-2013.html
ReplyDeleteGreat job! It looks good as new!
ReplyDeleteBut I have to say, seeing you standing on the table to paint gave me shivers up my spine...so unsafe! lol Sorry, I'm on the health & safety committee and it really did give me chills. Glad you finished safely!
Saw you sharing at Transformation Thursday
Debbie :)
I can only imagine how much happier you are laying in bed looking up at that perfect ceiling now! Thank you for all of the great insight. We have a spot that needs help and now I know how to tackle it!
ReplyDeleteBest Wishes and Blessings,
Amanda
Looks great! Thanks for sharing this wonderful tip at DianaRambles.com!
ReplyDeleteFantastic tip!! Thanks for the heads up on how to take care of those pesky water spots.
ReplyDeleteWater stains can be such a pain to get rid of and generally they take 2 or 3 coats of paint before they are totally covered up. The final effect was obviously well worth all the effort in the end and the ceiling makes the overall look of the room very smart. There is nothing worse than lying in bed at night staring up at the ceiling and being distracted from your deep thoughts by a stain that shouldn’t be there! We had an issue last year and spent a fortune on fixing the leaks in our roof, thankfully the house is secure now and there should be no further problems.
ReplyDelete