If you're looking for a way to spruce up your bathtub, consider making a tub tray. This simple project is easy to do and looks great in any bathroom.
You can make it as easy or complicated as you want. A simple wooden board across the tub works very well as a tray, but you can add more detail to fit your needs and the aesthetics you want to achieve.
Making a bathtub tray was a high-priority project during this bathroom makeover.
My daughter requested it! 😁
She is a girl who loves her baths. She can soak in the tub for hours every single day. And when she takes her baths, she brings her phone, a cup of tea, and I've seen her with a computer in tow many times.
A tub tray was a necessity for her. And the wonderful thing is that it was a quick project to tackle.
*This post contains affiliate links for your convenience. Click here to read my full disclosure policy.
The tools and materials you'll need:
- A wooden board 1" x 8" x 3ft
- Wood glue
- Stain
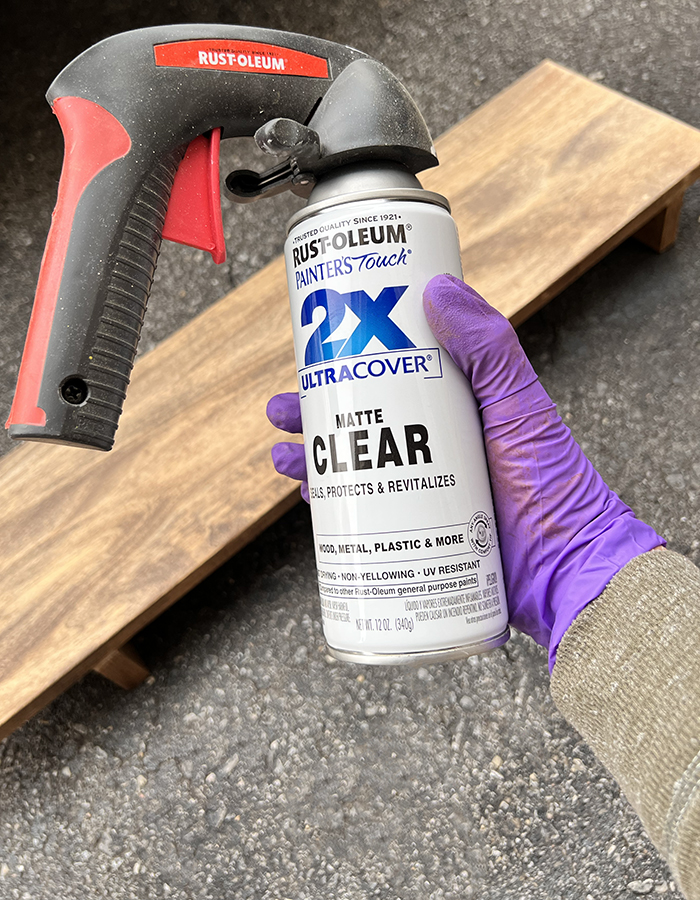
- Matte clear spray
- Clamps
- Framing Square
- Tape Measure
- Miter Saw or handsaw
- Sander with 120-grid sandpaper
Directions:
1. MEASURE
The most important part about this project is to measure your bathtub widthwise or at the spot where you think the tub tray will be positioned.
I measured mine from the tiled wall to the outer edge of the tub skirt. You can make it hang over the side if you prefer.
Then, measure the inside of the tub. This measurement will dictate the support placement or where to install the little legs that keep the tray from sliding around.
I measured the inside distance after cutting the material. The top board was set in place on top of the tub. Then, I held the little legs one at a time and marked their location underneath the longboard.
2. CUT THE WOODEN BOARD
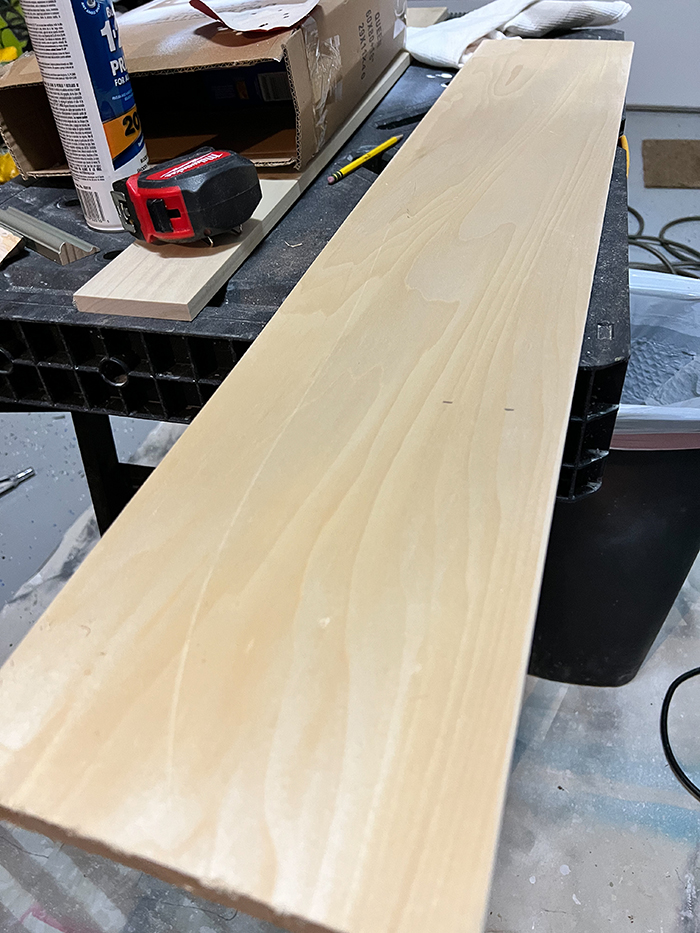
This is a great project to lower that scrap pile! This 1 x 8 pine plank was a remnant from the garage staircase leading to the mudroom. Its actual width is 7-1/4".
I used a miter saw to cut the top board at 29.5" and the little legs at 2.25".
3. SAND THE MATERIAL
Sand all sides of the wood thoroughly, especially the sharp edges.
Clean the wooden pieces before assembling them.
4. ASSEMBLE THE TUB TRAY
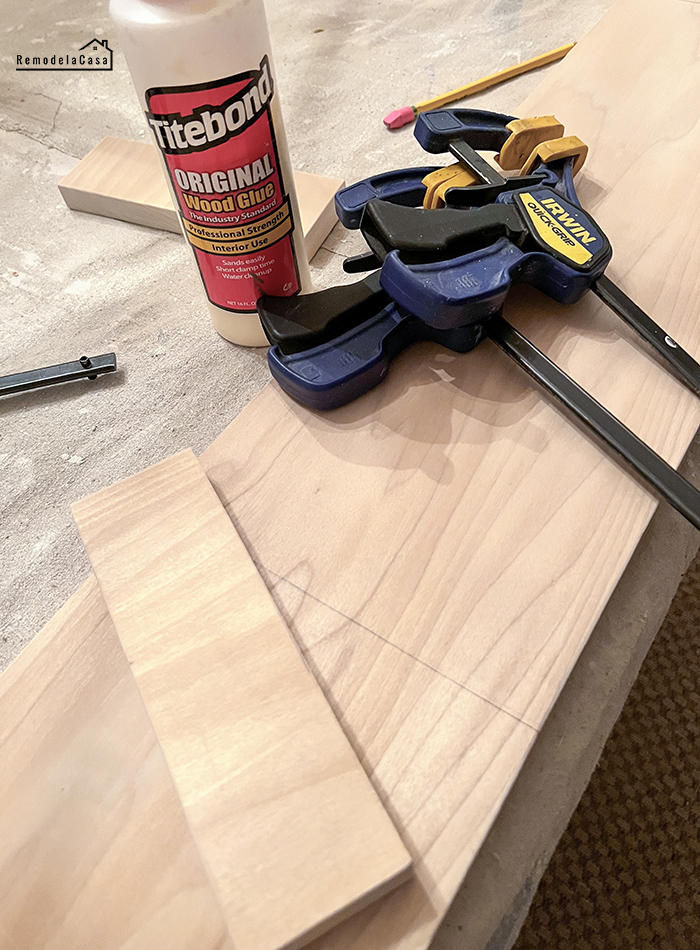
Add wood glue to both surfaces, the end-grain feet, and along the marked lines under the top board.
A true spa feeling is going on here! :)
Clamp the feet or supports to the tray, then clean off any excess wood glue, as leftover glue will prevent the stain from penetrating the wood.
I let it dry for 24 hours.
No need for nails or screws. Wood glue creates a strong bond!
Then, I brought it to the tub for a dry fit.
It was perfect!
5. STAIN & SEAL
I loved the tray's natural look, but I had to stain it to better complement the other wooden surfaces in the bathroom.
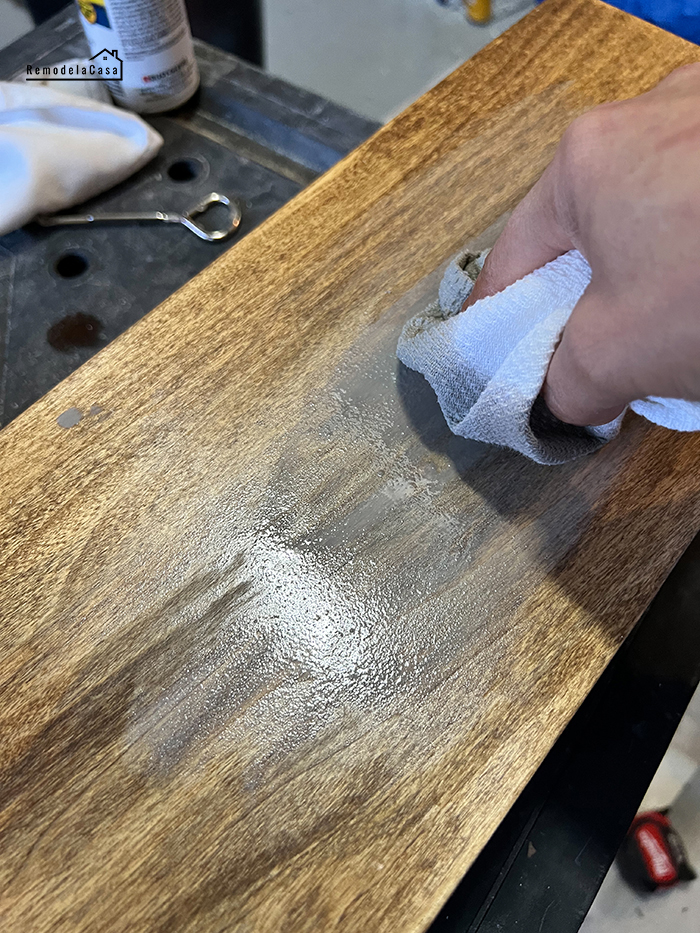
I first used Minwax wood conditioner to prepare the wood for stain. The wood conditioner reduces stain penetration in softwoods. Giving woods, like this pine, a more uniform look.
After two hours, I applied Minwax Early American and wiped the excess stain immediately.
I waited about 15 minutes, then applied Minwax Weathered Oak to tone down the contrasting shades.
Sand the tray and remove dust before applying at least two coats of clear matte spray.
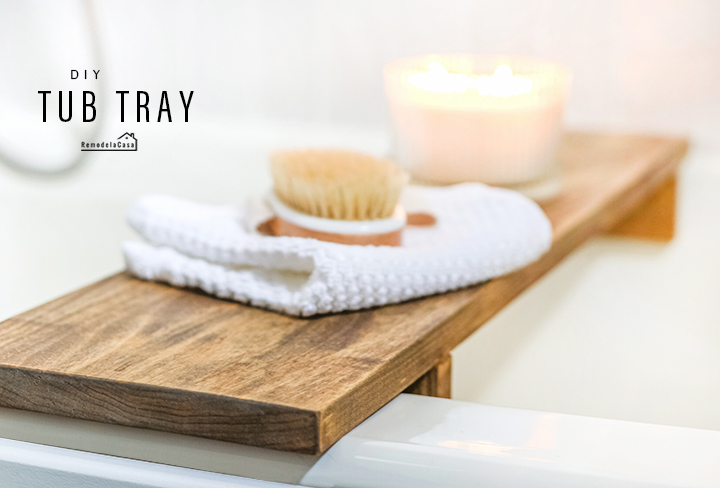
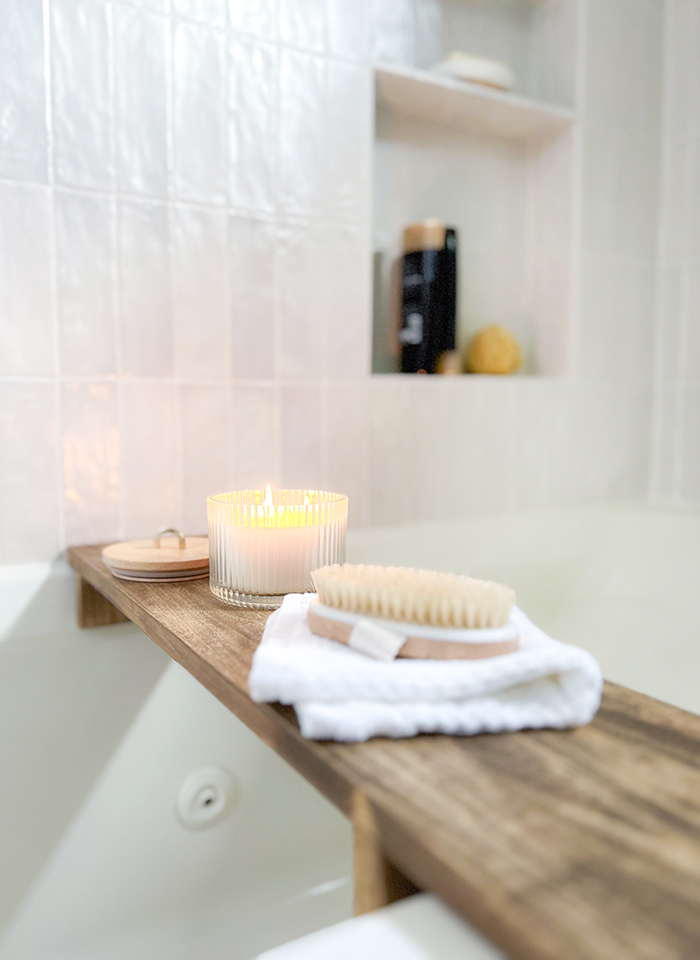
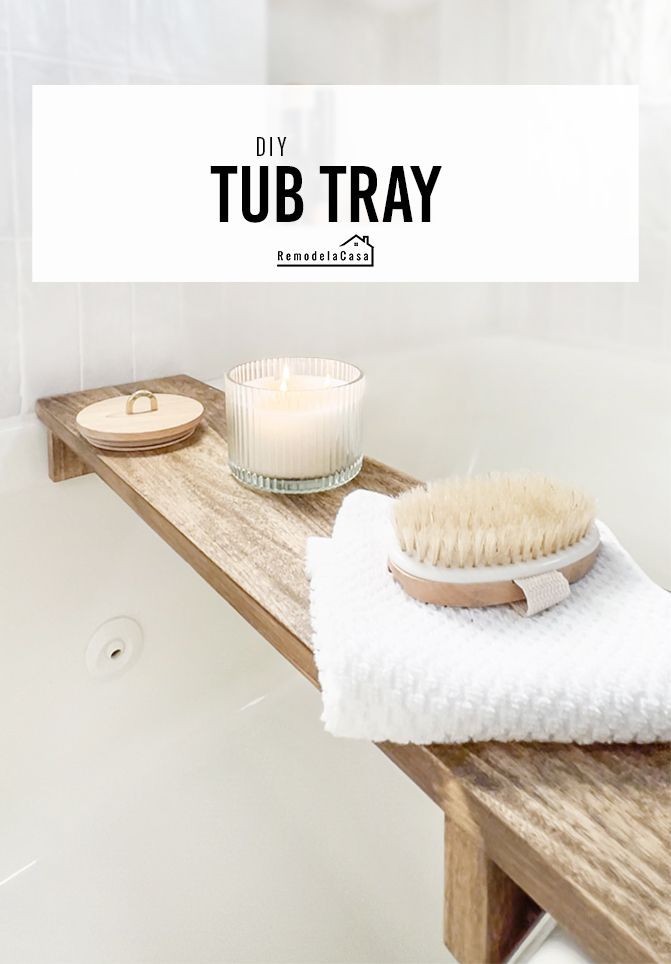
I set up my brand-new bathtub tray with a simple candle, body brush, and a little towel for the photoshoot.
My daughter is enjoying her newfound space, and without a doubt, her bathtubs are getting longer!
| Wall Tile | DIY Tub Skirt |
Easy right?!
Get more details about this bathroom makeover right HERE.
*This post contains affiliate links.







New comments are not allowed.