

Staying organized and on top of your day-to-day activities is way easier when having the proper tools, and this large chalkboard calendar that you can DIY is one simple tool that also serves as a motivator and even room decor thanks to its big size.
Last week was a busy one for me as once again, my daughter asked me if I could give her a helping hand in furnishing and decorating her new campaign office.
Well, I can't say no to this sweet girl!
You can check the last campaign office we had to furnish and decorate right HERE.
Turning the empty space you see below, into a comfortable working area is something that I like to do.
Now, what I don't like is the funding, as the budget is always close to nothing for this type of job.
We have to be handy and find freebies whenever we can!
And yes, that's my daughter showing her mama how big this office is! :)
*This post contains affiliate links for your convenience. Click here to read my full disclosure policy.
I first sent two old carpets that I had in my basement. They got a couple of folding tables and a bunch of chairs.
This is how my daughter organized that space:
Well, it wasn't too warm. The flooring or lack of was a big issue, but that's something I had to put in the back of my head as there wasn't a viable solution to it.
Instead, I started working on projects to bring cohesiveness to the space. Starting with a large chalkboard calendar that I knew the entire team would find helpful.
Let's take a look at how you can create a large chalkboard calendar for your office or even for your own home!
If funds are tight as in our case, you can use a big piece of plywood or any surface that is rather smooth.
I used this art piece that I created for my SIL a few years ago. She wasn't using it any longer and she was more than happy to lend it to her beloved niece.
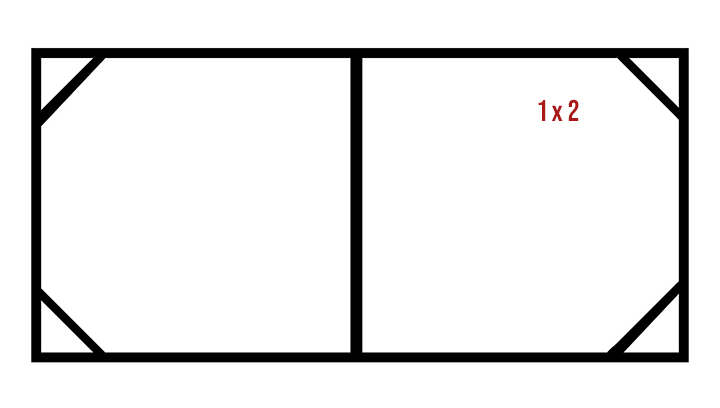
Since it was used as wall decor, at the time I gave it a good frame made out of 1 x 2 pine (picture below) and topped it off with 1/4" plywood.
The good thing was that I only had to give it a good sanding to get rid of lines from the painted design it sported.
And these are the main products or materials you'll need to transform any piece of wood or maybe a wall into a chalkboard:

- Chalkboard Paint
- White Sharpie Marker
- Letter Stencil
- Ruler
- Tape Measure
- Chalk
PAINT IT!
I first gave the entire frame a coat of primer to conceal the previous design. It is also a good starting point, you want the new coat(s) to have a good bonding with the surface.
Two coats of chalkboard paint were necessary to give it good coverage, waiting in between coats for the paint to dry completely.
By the way, I like the new black chalkboard paint that Rustoleum is now selling. It looked blue-ish inside the can, but it is very black when you apply it.

DRAW THE LINES
After the paint was completely dry, it was time to draw the lines to separate the days and weeks. You need at least seven columns for the seven days of the week, and at least four rows for the weeks, plus the row for writing the days of the week at the top.
I had a very long (horizontally) chalkboard. I didn't want the squares to be too wide and that's why a big empty space for notes was left on the right-hand side of the board.
You can play with those measurements. It's your own design, make it work for your needs!
My daughter also wanted to have the Saturdays and Sundays together, that's why I started with Monday.
Once the design and all those measurements were set, it was time to trace those lines, and this oil-based Sharpie was perfect for this type of job!
Look at that, line after line, they all turned out awesome. And they're printed out to stay, they're permanent.

PRINT THE DAYS
I used letter stencils to draw the initial for each day. I had such a good time using the Sharpie, that I began to use it again for the stenciling of the letters.
As you can see, that wasn't a good move. The paint seeped underneath the stencil and that M ended up way too rough.

The solution was to use paint and a sponge brush to dab the color onto the board.

SEASON THE CHALKBOARD
The last step is to season the chalkboard to prevent making permanent marks on the newly painted chalkboard surface when you write for the first time.
It's simple!

Grab a piece of chalk and lay it flat on the surface of the chalkboard, rub it against the board until the entire surface is covered in chalk.
Use a piece of cloth or dry paper towel to rub off the chalk.


I went ahead and painted another spare piece of 1/4" plywood to create this "Thank You! We couldn't do this without YOU!" sign.


Stay tuned for the reveal of this office.
Thanks so much for stopping by!
*This post contains affiliate links.

New comments are not allowed.